


How To Do A Quick Weave?

As we all know, quick weave has become a growing trend and popular choice. It’s known as the cheaper, faster option to the sew-in weave. It's a perfect choice for those who want amazing results without all the effort!
Are you interested in achieving salon-ready hair with ease? If so, this guide is the perfect place to begin your journey into quick weaves! We will explore how to install a quick weave like a pro and discuss its many benefits and maintenance tips. Put aside any fear of trying something new because once you're done reading, you'll be able to successfully try out a protective style or switch up your look quickly and easily. Let's dive right into learning all about quick weaves!
What's A Quick Weave?
A quick weave is a glue-in weave installation technique that glues hair wefts to a protective weave cap placed on your head to create a quick, customized look. Normally, this style is done by experienced hairstylists in salons.

With this method, any style can be created using various hair extensions—from long and straight strands to short curls of one color or several; limitless possibilities await you with just a single thought! This is a great option for those that don't have time to commit to the long hours of a full-head sew-in weave or who just want to switch up their look without having to be too invested.
Benefits of a Quick Weave That Make It a Popular Choice
When making a decision, it's necessary to consider both the advantages and disadvantages. The same is true for quick weaves - yet many perks make them such an attractive choice! Here are some of their most alluring benefits:
1. Fast and easy style options
Even for a novice, mastering the technique of installing a quick weave is achievable! It doesn't take an expert hairdresser to get started. With some practice and experience with your first few attempts, it will be no time before you're able to do this process easily and efficiently.
2. Low maintenance
We all lead busy lives and sometimes don't have time to invest in overly complex hairstyles. With a quick weave, it's just the opposite! The style requires minimal maintenance, all you need to do is a daily nighttime wrapping method.
3. Customizable
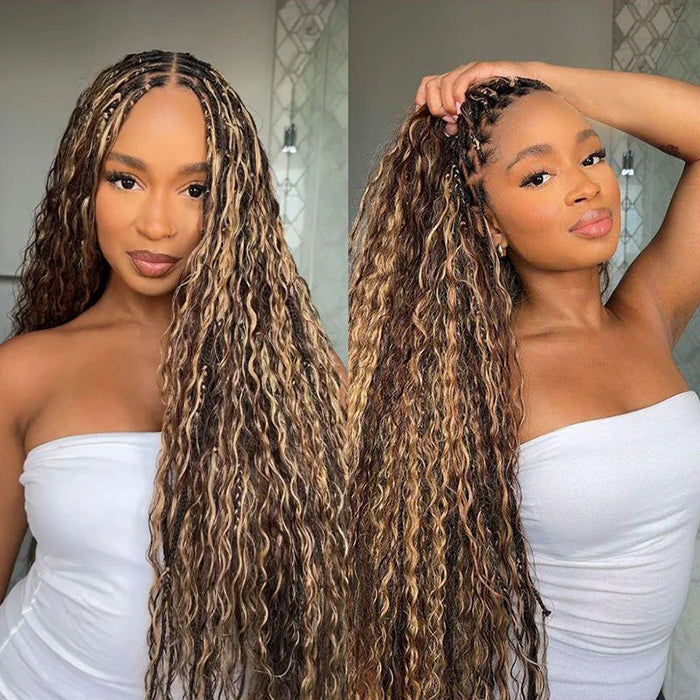
Whether you want a short and sassy look or something more dramatic—the choice is yours! With quick weaves, you can create virtually any quick weave hairstyle imaginable. Make sure to have fun experimenting with different looks and colors to find your perfect style.
4. Gives your hair a break from styling
Using this method will give your hair a break from all the hot tools and treatments we use to style our locks. This is beneficial since it allows your natural hair to recover, resulting in healthy and strong hair when you return to using your regular styling techniques.
5. Affordability
If you're seeking an affordable and stylish way to reinvent your hair without spending a fortune, quick weaves are the best solution! It cost less than other weaving techniques, and sew-ins. With regular upkeep and care, they can last up to 3+ months - giving you time to enjoy your look while keeping money in your pocket.
6. Easy to remove
When you're ready to switch up your look, the takedown of a quick weave is simple. All it takes is a few minutes and some solvent remover or oil-based conditioner to remove the glue from the tracks. After that, you can apply a new style in no time!
7. Protect your natural hair
With a quick weave, you won't have to be concerned about causing any harm to your natural hair. This makes it perfect for anyone with delicate or thinning hairlines as the weft and glue will not tug harshly on your scalp.
Now you know all the basics of quick weaves, what are you waiting for? Get ready to embark on:
What Will You Need To Do A Quick Weave?
Say goodbye to long hours in the salon chair and start creating your unique look right at home! To get started with a quick weave, here's what you'll need:
-
Hair Glue
-
Hair Weave
-
Scissors
-
Comb and Brush
-
Hair clips or elastic bands
-
Tail comb (optional)
-
Vaseline and/or oil sheen (optional)
-
Alcohol (optional)
How To Do A Quick Weave Step By Step?
Crafting your hairstyle can be immensely gratifying - and now, you can get creative with hair extensions! Quick weaves are the latest trend to hit the beauty world, so follow these simple instructions for the perfect look:
Step 1: Choose an Extension Hair for Quick Weaves
Choosing the right type of hair for quick weaves can be perplexing. You will typically come across two primary options - human and synthetic hair weave. Human hair extensions appear more realistic, yet they tend to cost more than synthetic hair. Despite this, many opt for humane locks due to them being superior in quality compared to other varieties available on the market. Alternatively, you could also select affordable artificial hair extensions; however, these are susceptible to clumping together easily, which makes them less desirable as a choice.
Step 2: Wash, Condition, and Deep Condition your natural hair

To maintain a strong foundation for your weave, begin by washing and clarifying your hair with shampoo to eliminate product residue or dirt buildup. Then apply conditioner, comb through strands using a wide-toothed comb, and seek out extra nourishment if needed with deep conditioning treatments that include emollients that help restore lost moisture levels while creating softer tresses when styling a new.
Step 3: Apply Leave-in and Blow Dry

Now it's time to add a leave-in conditioner. If your hair is thin or fine, use a light, water-based product that won't weigh down your locks. Although blow drying isn't essential for styling quick weaves, it can shorten drying time if desired; just make sure you first spritz on some heat protectant before utilizing heated tools or appliances!
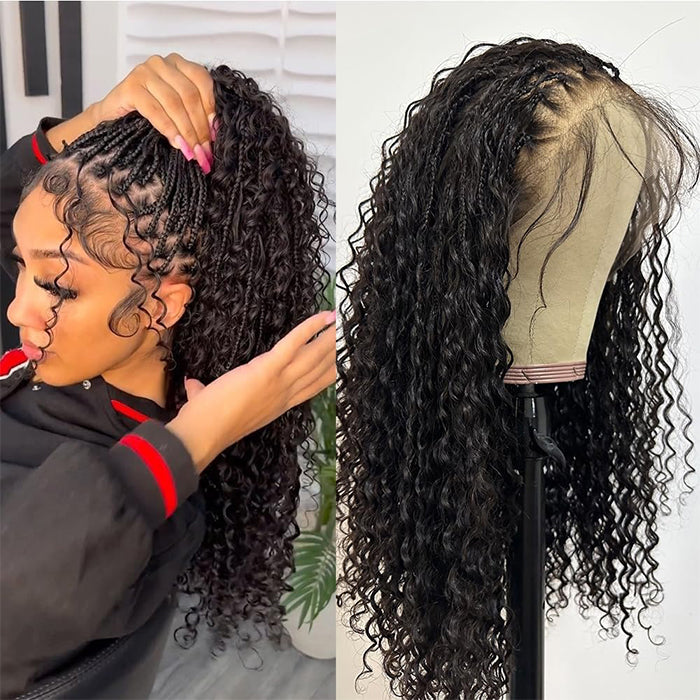
Step 4: Braid or Smooth Your Hair Down

Before putting on the weave cap, make sure to create a smooth and even surface by cornrowing or slicking down the natural hair. This process is easy: braid it back in any fashion you prefer and then flip up the ends of each strand; alternatively, use molding gel with a boar bristle brush for an ultra-sleek look. It's also time to determine which parting style you'd like—middle part, side part, or deep side. Lastly, if leaving out any strands of your hair, separate it into three sections and plait them together to keep away from the secure fit of the wig cap.
Step 5: Put On the Wig Cap

Stretch the wig cap over all of your hair and make sure no errant strands are peeking out from beneath. Apply two caps for additional protection against glue leakage. And, as a final guard against any potential harm that might be caused by wearing hair extensions, spray on some Got2b Glued hairspray onto the cap itself! Always take precautions when putting in wigs - better safe than sorry!
Step 6: Glue On The Hair Extensions
Now we have come to the most important part, add hair extensions, it looks complex, but the truth is they are super simple, keep reading.
1. To start, measure the hair extensions around your head to see where you’ll need to cut the weave. If you want to do a leave-out, remember to mark the area on the cap so that you don't apply the tracks over it.

2 Then, apply glue across the hair weft, blow dry, or air dry. Carefully position the weft onto the wig cap at your neckline, making sure to keep it away from your skin.

3 Repeat the same process of measuring and cutting wefts, working your way up and around your head from the bottom. Place each strip horizontally, so it fully encircles your head.
4 To flaunt your new look, you must first trim away the excess wig cap and unknot the section of natural hair that you plan to leave out. Then, style it in whatever way pleases you!

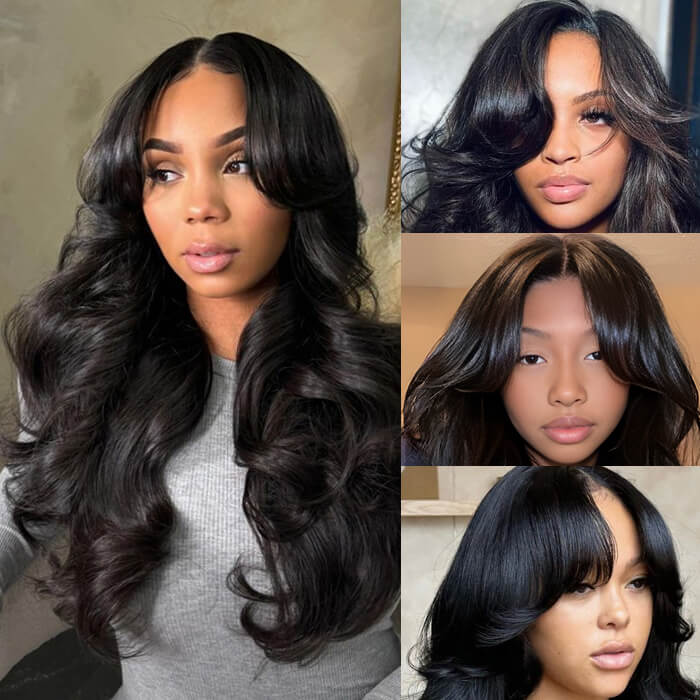
Different Quick Weave Tutorial
@brenthereaper Am i shadowbanned 🤔 #quickweave #texas ♬ Originalton - dailynicki
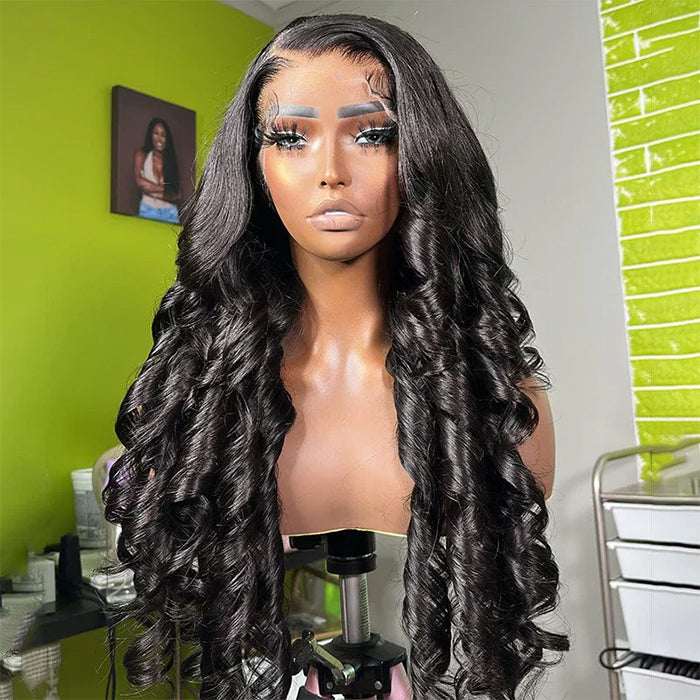
Deep side part quick weave
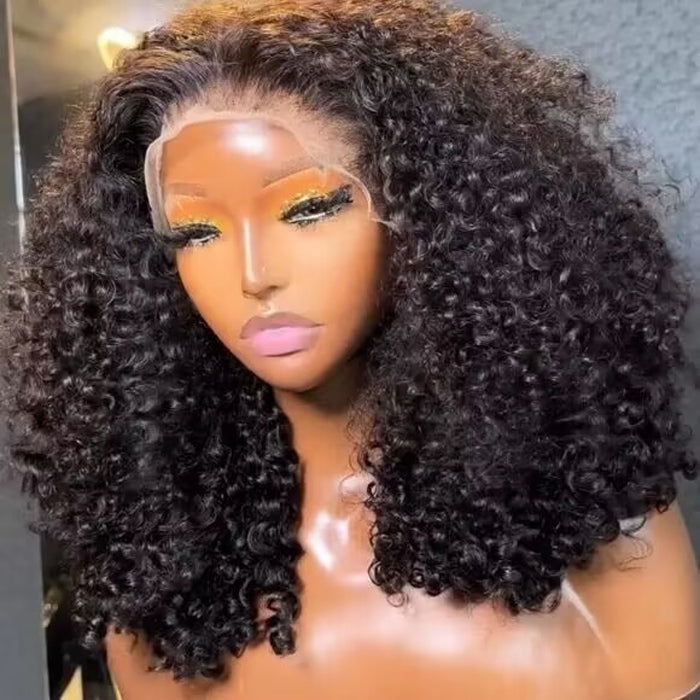
Closure quick weave
@theallysonrosee First time installing a side part quick weave on myself 💕 (didnt have time to pluck 😭) #hairtok #quickweave #22birthday ♬ Super Freaky Girl - Nicki Minaj
Tips for Maintaining and Caring For Your Quick Weave
To make sure your quick weave looks stunning for the entire four weeks, it is essential to take good care of it. Here are some straightforward ideas on how to maintain its graceful look:
1. Cover your hair with a satin or silk scarf

Shield your hair from harsh environmental conditions and preserve its glossy, vibrant look by donning a satin or silk scarf while you sleep. This extra layer of protection will help keep your hairdo looking sleek for longer periods.
2. Invest in a high-quality shampoo
A good-quality shampoo will keep your quick weave looking fresh by washing away dirt, product buildup, and sweat while preserving its color and luster.
3. Be mindful of heat styling

Heat styling is a great way to add volume and texture to your quick weave. But when using heated tools, avoid setting the temperature too high, and make sure you always spritz it with a heat-protectant serum before styling.
4. Gently detangle

To keep your hair from becoming matted and tangled, gently brush it out every day with a wide-toothed comb. If you find knots, use a leave-in conditioner to loosen them up without damaging the strands of your quick weave.
Following these simple steps for proper maintenance and care will help ensure your quick weave stays looking gorgeous for weeks on end. A little extra effort goes a long way when it comes to keeping your hair looking beautiful! Enjoy your new hairdo!
Frequently Asked Questions
By being thoroughly educated before beginning the rapid weave installation procedure, you may avoid having any of your work interrupted. The following are some of the most important answers to questions that are usually asked about quick weaves. This will guarantee that you get the most out of your attempt:
1. Why do people love a quick weave?
Many people treasure the quick weave method for its convenience, affordability, and accessibility. Its installation is much quicker than traditional methods at a fraction of the cost. Furthermore, the tension on both natural hair and scalp is significantly lessened since wefts are fixed to the cap instead of your actual hair. With this technique, it's effortless to add extensions as well as effortlessly remove them when desired!
2. How long does it take to do a quick weave?
If you're looking to get a quick weave, make sure you give yourself enough time for the installation process. Depending on your hair type and thickness, it could take anywhere from one to three hours. To guarantee that your hairstyle remains sturdy even after long-term wear, taking some extra steps is always a wise choice. With just a bit of preparation now, you'll have peace of mind knowing that everything will stay in place later!
3. How much does it cost to get a quick weave?
Achieve the perfect look for less with a quick weave! For only $100, you can get an install, and if you purchase your hair in bulk ($60), it brings the entire cost down to just $160. Even better, by doing some research on local salons and stylists near you, there's potential to save even more money finding that great deal.
In a Nutshell
With a quick weave, you can enjoy the look of natural hair without breaking the bank. After reading through this guide and arming yourself with essential tools, you'll be ready to get your quick weave on! It's important to remember that, like every other hairstyle, proper care is key for achieving maximum beauty - don't forget to cover up your locks overnight with a satin or silk scarf. By following these simple steps closely, nothing will stop you from rocking fabulous hairdo after hairdo in no time at all! So what are you waiting for? Go show off those gorgeous tresses with confidence today!


Leave a comment