


Different Ways To Style A Lace Front Wig

Lace-front wigs are a well-liked option for ladies who want to switch up their look but are concerned about the health of their hair in the process. Because the front of these wigs is constructed with lace, some of your real hair can be seen through the wig. Because of this, they seem to be more natural than wigs that are not styled in this manner.
Lace front wigs are available in a wide variety of looks, and you may style them in any manner that you see fit. With a lace front wig, you may get whatever hairstyle you like, from a short bob to lengthy layers and anything in between.
In this article, we will discuss some different ways to style lace front wigs with or without heat tools.
Heat Styling Method
When styling a human hair lace front wig, the tools and products you use are ultimately important. There are some of the heat tools we can always see on your table, like flat iron, curling iron, hot comb, and curling wands(preferably with temperature-control dials so you can determine how much heat is being applied to the hair).
Additionally, use heat on human hair only when it's dry, and always use a heat protectant before.
How To Straighten Your Lace Front Wig?
Tools You Need:
- Big Clips
- T pins
- Heat Protectant
- Wide-tooth comb
- Mannequin Head
- Hair Spray
- Flat Iron

Step 1: Place your clean human hair wig on a mannequin head and use t-pins to secure it.
Step 2: Separating your wig into 4-6 sections to make it easier to work with. You can use your fingers or a wide-tooth comb to help. Use big clips to keep them in place.
Step 3: Keep the hair straightener away from the root of your wig about an inch, to avoid any damage to the lace or wig cap underneath.
Step 4: Go down each section of your human hair wig slowly, moving the hair straightener evenly from the roots to the ends. Don't keep the straightener stay too long on each section of hair, and make sure you're not pulling the hair as you go.
Step 5: Add proper hairspray on hair to help keep your style in place.
How To Curl Your Lace Front Wig?
Tools You Need:
- Curling Iron
- T pins
- Mannequin head
- Heat Protectant
- Wide-tooth comb
- Hairspray

Step 1: The same as before, put your clean wig on a mannequin head and secure it with T pins. Turn on your curling iron, set the temperature under 300 degrees, and allow it to reach your preferred temperature.
Step 2: While waiting for the temperature to rise, apply a heat protectant to the lace wig and comb it through to distribute it evenly.
Step 3: Separate a small section of hair and detangle it, and hold the curling iron to start curling.
Step 4: Be careful if this is your first time using heat tools. Keep your finger away from the heating part to avoid burning yourself. Gently wrap the hair around your curling iron barrel and hold it for eight to ten seconds. (Be sure to hold the ends in place so they don't get caught under the clamp.) Slowly pull the curling iron out and away from your hair.
Step 5: Repeat the process on other sections of the wig until you get a whole curled wig.
Step 6: To keep the curls looking best, apply a light layer of wig-friendly hairspray.
Heatless Styling
Alright, now that you have learned some basic knowledge about how to style a human hair wig with heat tools, here we provide some of the most popular and elegant styles to choose from when styling a lace front wig without heat:
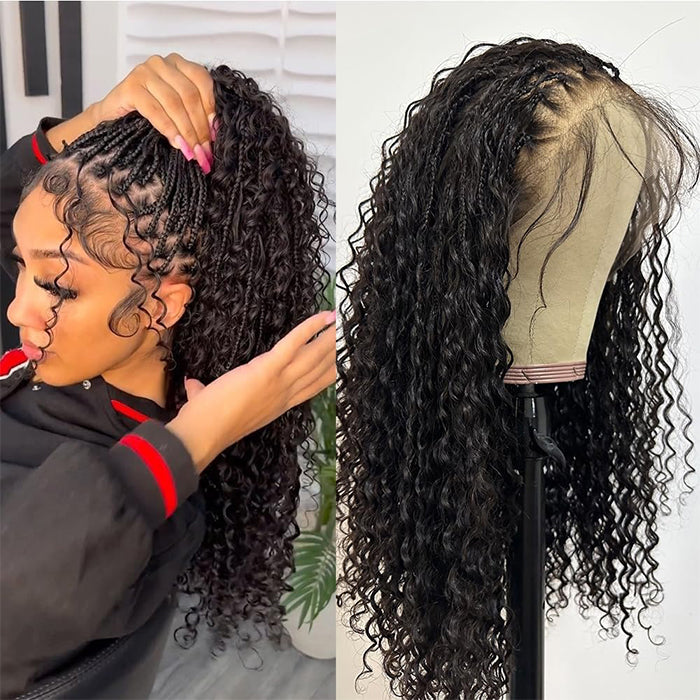
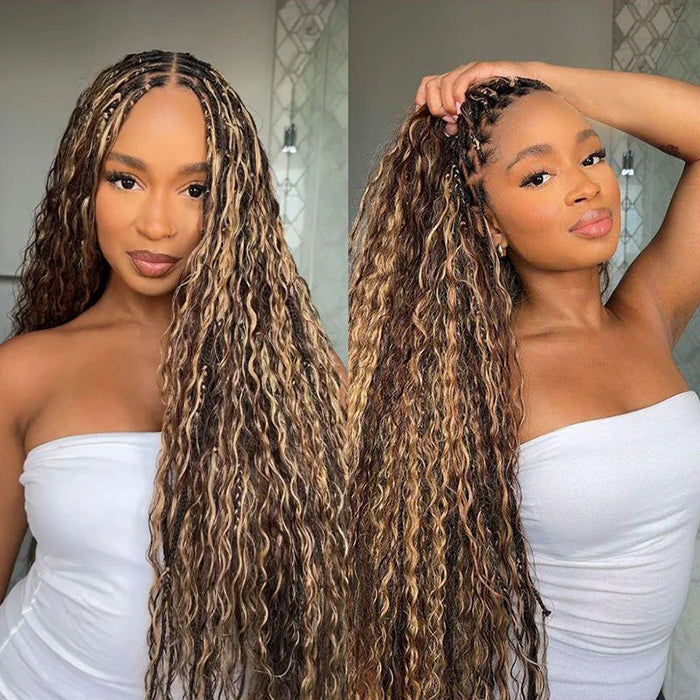
#1. Braids
Why not add a little detail to your look with some charming braids? Braids are the perfect way to make an elegant hairstyle without requiring too much time or effort. You can create intricate patterns that will draw attention and make you stand out from the crowd. Whether you prefer fishtail braids, French braids, or something more intricate, you are sure to make a statement with your new look!
Half-Up Braided Look:
Searching for a way to give your current hairstyle a more interesting spin? A half-up braided look is a new trend for stylish girls. This style will always look it's absolute best, even when executed with the more limited parting space of a lace front wig. Check pre braided wig here!

Tools and products for the half-up braided look:
- Rattail comb
- Small rubber bands
- Hair ties
- Bobby pins
- Heat styling tools (optional)
- Styling products of your choice
To achieve a half-up braided look, follow the steps below:
Step 1: At the very top of the lace front wig, an about one-half inch apart, form two little sections with a rat-tail comb. This will give you the first segment of your braid to work with.
Step 2: Continue Dutch braiding the portion of hair until you reach an area that is roughly halfway up the crown of your head or until you reach the end of the parting area on the wig, whichever comes first. Use a thin rubber band to keep it in place.
Step 3: Continue the pattern by braiding another section of hair exactly to the left of the initial braid, and then repeat the process on the right. Use some thin rubber bands to fasten these strands together.
Step 4: You are going to want to keep adding additional braids until you have the style that you want.
Step 5: Make a ponytail at the top of your head by gathering the loose ends of all of the braids together.
Step 6: To conceal your ponytail holder, take a little strand of hair and wrap it around the base of the ponytail. Maintain its position with a bobby pin.
Step 7:To bring out the luster in your wig, try applying a few drops of hair oil to it. (optional)
#2. Bun
The hair bun is one of the most fuss-free hairstyles that also manages to appear timeless and sophisticated. When it comes to styling your lace front wig, buns may be incorporated in a wide variety of ways. Continue reading to discover how simple these bun styles are, as well as how stunning they are!
Messy Bun look:
The sloppy bun is often considered to be the most recognizable kind of bun. This is not the most optimal design for a lace front wig since the back hairline does not include lace and will reveal the wefts of the wig. A more appropriate style for a lace front wig would be something like this. On the other hand, you may get a more natural appearance by concealing the rear of your wig with hair accessories such as a headband or a hair scarf.

Tools and products for a messy bun look:
- Hair ties
- Bobby pins
- A comb of your choice
- Hair gel
- Toothbrush
- Hair scarf (optional)
To create a messy bun look, follow the steps below:
Step 1: You should put a wig cap on your natural hair, but you should be sure to leave out some hair around the rear hairline. To get a look that is consistent with the texture of the wig you are going to wear, use heat styling equipment on this part.(optional)
Step 2: You may use hair gel to attach your wig, but be sure to leave the natural hair at the back out of the way.
Step 3: Make the hair into a high ponytail by using a comb to collect it. Use a hair tie to keep it in place.
Step 4: Create the bun by wrapping your hair over the top of the ponytail and fastening it with more hair ties or bobby pins.
Step 5: Bring your natural hair up and over the hairline in the back of the wig, and then fix it with bobby pins so that it stays in place.
Step 6: You may also assist the wig in seeming more real by gently separating the hairs towards the rear of it. This can be done with your fingers.
Step 7: The effect of a messy bun may be achieved by pulling out parts to frame the face.
#3. Ponytail
When you want to switch up the appearance of your lace front wig, ponytail styles are another tried-and-true choice that can be worn in a variety of ways. These ponytail styles are ideal for concealing the rear hairline, making them suitable for use with a lace frontal. Whether you want to create a sleek, high-end look or a more casual everyday style, the possibilities are endless.
Continue reading for helpful tips and suggestions on how to get the most out of your lace front wig with ponytail styles!
High Ponytail Look:
A ponytail, much like a bun, is an ageless and adaptable hairstyle that can be worn to a wide range of events. On the other hand, if you have a lace front wig, you shouldn't do it since the wefts in the wig's rear might wind up showing. However, if you want to conceal the receding hairline while still retaining a more natural appearance, you may want to think about utilizing hair accessories like headbands and hair scarves.

Tools and Products for High Ponytail Look:
- Wig cap
- Heat tools (optional)
- Hair ties
- Bobby pins
- A comb of your choice
- Hair oil
- Hair gel
- Hair scarf (optional)
To create a high ponytail look, follow the steps below:
Step 1: You should put a wig cap on your natural hair, but you should be sure to leave out some hair around the rear hairline.
Step 2: To get a look that is consistent with the texture of the wig you are going to wear, use heat styling equipment on this part. (optional)
Step 3: You may use hair adhesive to attach your wig, but be sure to avoid the area of your head that contains your natural hair.
Step 4: Make the hair into a high ponytail by using a comb to collect it. Use a hair tie to keep it in place.
Step 5: Bring your natural hair up and over the hairline in the back of the wig, and then fix it with bobby pins so that it stays in place. You should include your long hair in a ponytail if it is long enough.
Step 6: To conceal the elastic band that holds your hair back in a ponytail, just split off a little piece of your hair and wrap it around the band. Maintain its position with a bobby pin.
Step 7: To get a smooth and shiny appearance, gently comb in a tiny quantity of gel down the length of your head, and then add a few drops of hair oil to the ponytail.
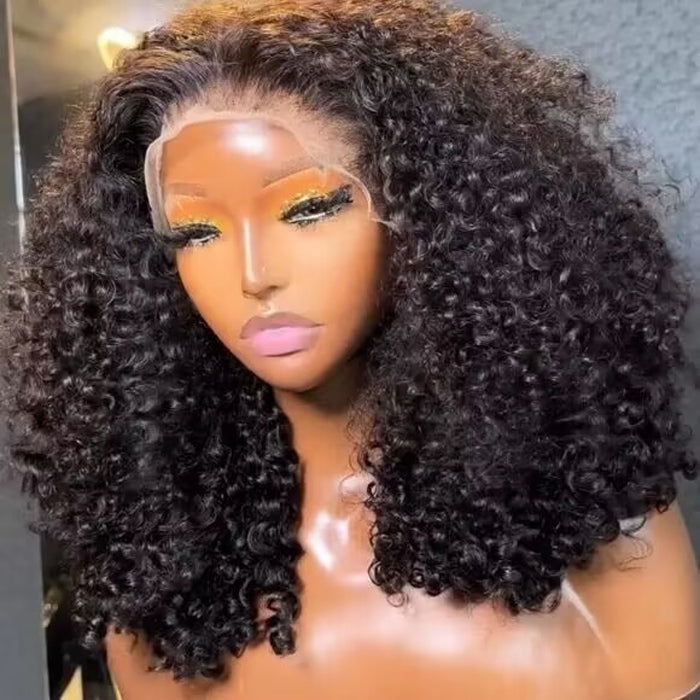
#4. Layered Cut
When you want to upgrade the look of your lace front wig, a layered cut is an excellent option. This style adds movement and volume to your locks by creating shorter layers around the face and neck that gently blend into longer lengths at the back. It's especially ideal for those with medium-length wigs, as it can give them a more flattering shape.

Tools and Products for Layered Cut:
- Hair straightener
- Curling iron
- Small rubber hair ties
- Haircutting scissors (do not use regular scissors)
To create a layered cut, follow the steps below:
Step 1: To avoid having uneven hair trimmed, first use a straightener to get the hair in the desired position.
Step 2: Make a slit in the center of your wig.
Step 3: Take a portion of hair about the size of your thumb and separate it from the hair on each side of your face. Gather them together into a ponytail about two inches below your chin, and then tie the ponytail with an elastic band.
Step 4: Repeat the process with the second part of hair from either side of your head, drawing it to the front of your head and fastening it with a hair tie around half an inch below the initial section of your hair.
Step 5: Repeat the process with two additional portions of your hair, or continue until all of your hair is safely fastened. When compared to the other portions, there should be a little larger gap between the third and final sections.
Step 6: Take off the hair tie that is attached to the first portion.
Step 7: First, take the hair from both portions and hold it between your index and middle fingers. Next, give each area a single twist. If necessary, switch hands after you've completed the twist.
Step 8: Make a series of fine cuts in an upward motion that is slightly ragged below your fingertips. Continue doing this until you have trimmed all of the hair. This approach avoids blunt ends.
Step 9: Proceed in the same way with the last three parts of the puzzle.
Step 10: Blend the layers by cutting in a downward diagonal motion with your scissors until the ends and breaks between the parts no longer seem jagged. This process should continue until the jagged appearance is eliminated.
Step 11: You may get a stunning end effect by curling your hair.
In a Nutshell
There you have it – four elegant ways to style your lace front wig so that you look incredible no matter where you go. Whether you're braiding, putting your hair up in a bun, or rocking a high ponytail or layered cut, we hope these tips helped show you just how versatile and stylish lace front wigs can be.
No matter what your preference is, there's a way for you to rock a lace front wig so that you feel confident and beautiful. Do you have any other suggestions on how to style lace front wigs? We'd love to hear from you in the comments below!
Still have questions about wigs?
Join our wig community where customers share installs, styling tips, and beginner advice.
✔ ask questions
✔ see real installs
✔ get beginner help


Leave a comment