


How To Do A Top Knot Bun That Lasts All Day?

The popular 'top knot bun' is a timeless and versatile hairstyle that fashion enthusiasts around the world turn to time and again. From everyday occasions like casual outings to weddings or formal events, its simple yet sophisticated look makes it perfect for all occasions alike.
But there is a downside; your hair might become loose as the day wears on, loosening its grip on the top knot shape and putting frizz into spots that you would have rather left undisturbed!
This comprehensive guide provides steps to ensure your classy style will last 'til way past sundown. From luscious long locks to curly manes, no corners will go unturned in making sure you get your all-day topknot triumph every single time.
What Is a Top Knot Bun?
A top knot bun is a hairstyle where your hair is gathered and secured into a high bun on the top of your head. This versatile and trendy look can be created by tying your hair into a high ponytail at the crown of your head, then twisting the ponytail into a bun and securing it with hairpins or an elastic band.

The style can be adapted to be sleek and polished or messy and casual, making it suitable for various occasions and personal preferences. From the office to a night out, the top knot bun is sure to add a touch of class and sophistication to any outfit.
Mastering the Art of the Top Knot Bun: 5 Easy DIY Tutorials
We're about to embark on an exciting adventure – uncovering the secret behind the top knot bun. This stylish casual or dressy hairstyle has been sweeping TikTok recently, and it's sure to bring an effortless, elevated vibe to your outfit.
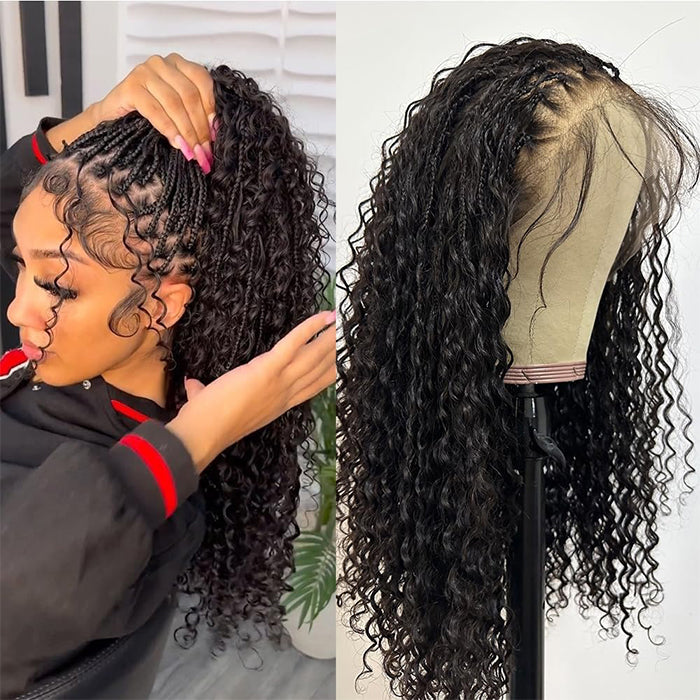
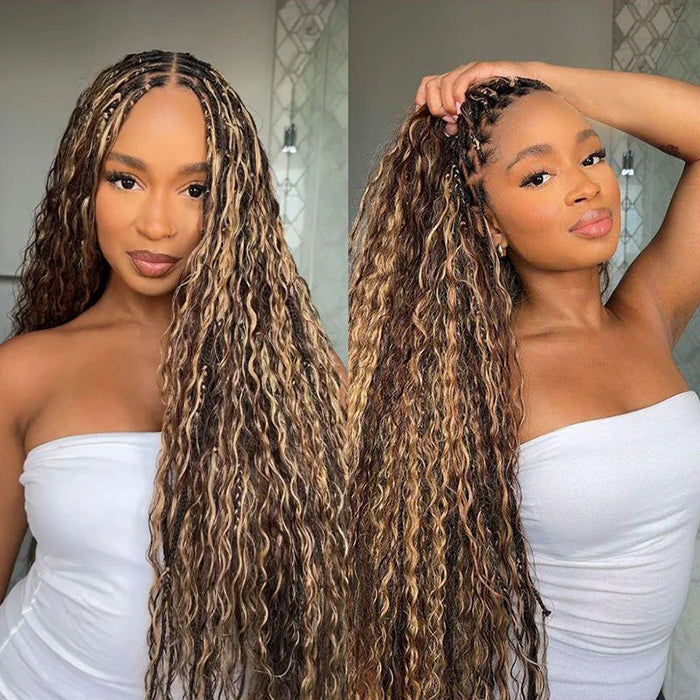
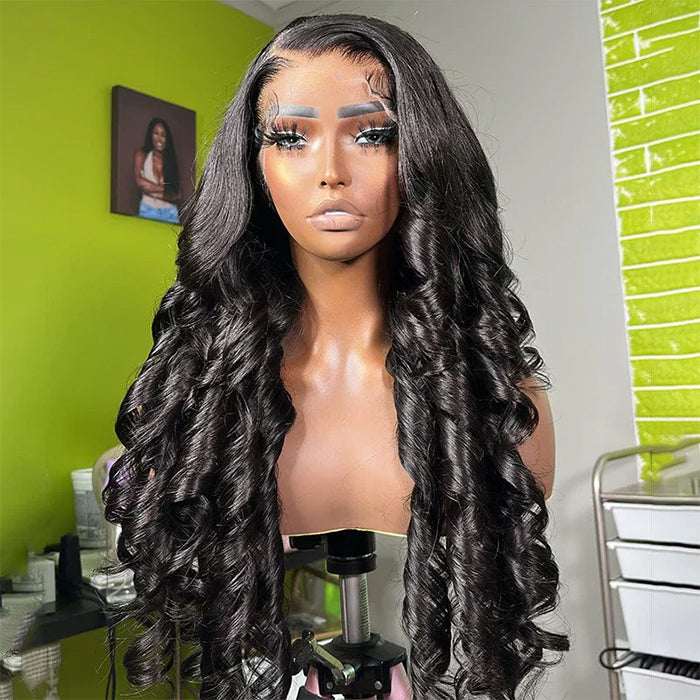
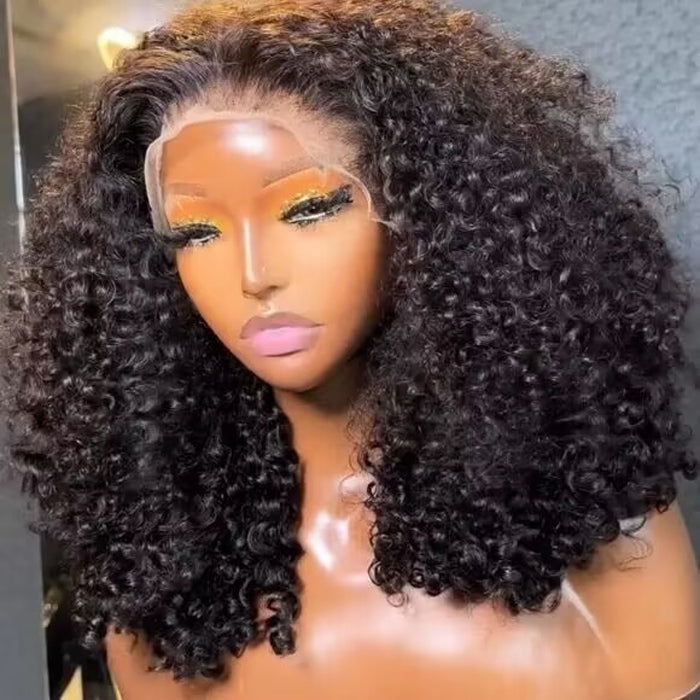
Whether you prefer a sleek, polished look or a textured and undone vibe, now is your chance to learn the five insider tutorials to perfect this trendy style. In these five tutorials, braiding hair, hair weaves or human hair wigs(like frontal wig, full lace wig or 360 wig) can be a great help to finish the perfect final look.
Now join us as we journey into the world of the top knot bun:
1. Faux Bang Top Knot Bun
If standing out from the crowd is something you crave, then a faux bang top knot bun might be the perfect style for you! A definite advantage to this look is that you don't have to get a real haircut. You can simply use your own pieces of hair to give the illusion of bangs but without the hassle of actually cutting them. With minimal requirements on effort and time, follow along as we guide you every step of the way:

Things You'll Need to Get Started:
- Comb: To help detangle and smooth out your hair
- Straightener: To give the faux bangs a sleek finish
- Elastic bands: To secure your hair into a top knot
- U-pins: To lock everything in place
Steps to Achieve the Look:
To achieve a stunningly chic top knot bun, there are several easy steps.
Step 1: Start by gently detangling your hair with a comb for lasting volume.
Step 2: Gather your mane into a high ponytail and firm it in place with an elastic band.
Step 3: Divide the ponytail into two sections to ensure symmetry.
Step 4: With the upper section, loop it over the crown, complementing your forehead and framing your face like bangs; fasten the ends with some adorning bobby pins.
Step 5: Take the lower part of the ponytail, twist and coil it around the base, twisting in any loose strands as you go, securing the bun further with U-shaped pins integrated within.
Step 6: To finish off this fashionable look, straighten potential curls from bangs using a flat iron and lay them gently onto your forehead. Spritz on some fixative hair spray to guarantee your showcase piece stays securely in place all through its day!
2. Easy Top Knot Bun
It might never have crossed your mind that a top knot bun can be so easily achievable. Whether you're running late for work or trying to beat the heat, an easy top knot bun is definitely an excellent option, as it requires minimal effort and just a few simple tools:

Here's what you need to pull off this look:
- Hairbrush: To help smooth out your hair
- Hairspray: To secure the bun from sliding off
- Bobby pins: To keep everything in place and give a polished look
- Elastic Band: To tie the ponytail
Steps to Achieve the Look:
@itstiatamara Replying to @Alexis Alexander one of my fav quick & easy go-to styles 💕 #curlybun #topknotbunhairstyle #3bcurlyhair #easycurlyhairstyles #cutecurlyhairstyles ♬ Water - Tyla
Step 1: Begin creating your chic fan bun by gathering all your hair into a ponytail and using your hairbrush to smooth out any bumps.
Step 2: Secure the bottom of your ponytail with an elastic band.
Step 3: Take the Band and twist it once, ensuring only half of your hair is passed through it - this will create the iconic fan shape at the top of your head. Be gentle when extending the effortless fan bun formation for a softer look.
Step 4: Then, wrap the loose ends of your ponytail around its base, using bobby pins to hold it in place and secure the ends for added fullness.
Step 5: To achieve a stylishly undone appearance, you can then carefully loosen up the bun for a slightly messier vibe.
Step 6: Finally, pin down each side of the fan bun to give extra definition and volume boost near if needed!
3. Messy Top Knot Bun
You might never considered the idea of easily achieving a messy top knot bun. It's a great hairstyle to try out, regardless of whether you're headed to the beach for a day or spending time out and about during the night. And best of all, it doesn't require many tools or much effort either! So, why not give it a shot?

Here's what you need to pull off this look:
- Hairbrush: When styling your hair, you will need a brush to help detangle it
- Dry shampoo: If you're looking for a more undone look, use dry shampoo to give your hair some texture
- Elastic Band: To hold the top knot bun in place, you will need an elastic band
- Hairspray: To help keep your style in place, a good hairspray is essential
Steps to Achieve the Look:
Waking up late, don't panic: getting a textured and effortlessly chic look can take less than five minutes!
@damnthatschev Hair tutorial: Messy bun with side bang 💕 I used clip-ins in the middle of my hair to create the ponytail. #hairtutorial #messybun #fyp #vital ♬ To Summer, From Cole - Audio Hug - Summer Walker & J. Cole
Step 1: First, apply some dry shampoo to your unwashed hair to add grip and dimension. To make sure it's rat-free, run your fingers through it with the hair flipped over.
Step 2: The next step involves tying all the length into a high ponytail at the crown. Pile that all up and give it a twist at the base.
Step 3: Then wrap your hair around this twisted section, tucking in any flyaways that might decide to peak out.
Step 4: To finish off this quick and easy technique, fix it all into place using an elastic band or clip for extra security.
In a flash, you've gotten a voluminous bun overflowing with texture and hold – looking chic didn't have to take long after all!
4. Vintage Top Knot Bun
There are times when nothing screams "classy," quite like the classic vintage look. What better way to achieve it than to try out the vintage top knot bun?
To get that gorgeous structure and volume, it all comes down to teasing your hair! As a bonus, this hairstyle works best with mid-length or long hair - so ladies, start growing out your locks for an amazing full look! And don't forget; the longer your hair, the bigger your desired results. So, without further ado, let's jump right into it.

Here's what you need to pull off this look:
- Dry shampoo: This helps to add volume and grip
- Texturizing spray: To ensure your hair stays in place that will last
- Bobby Pins: For extra hold, use bobby pins to secure the bun in place
- Elastic Band: This will help you tie your hair together for the bun
Steps to Achieve the Look:
@xplobeauty Top knot bun tutorial. #simplehairstyle #hairtutorial #diyhairstyles #5minhairstyle #xplobeauty #fyp ♬ BIZCOCHITO - ROSALÍA
Step 1: To start, revive unwashed hair with some dry shampoo. Focus your application on the roots to add body and lift. Flip your mane over and scrunch it from the ends up to the roots for maximum volume.
Step 2: Pull hair up at the crown into a high ponytail, gently smoothing out any bumps or flyaways as you go along.
Step 3: Take an elastic band, passing it over your locks twice – once all the way through and once only halfway – for the signature bubble effect. If you'd like to switch things up slightly, loosen up sections of the style around the face while pancaking it out in some areas for added flare.
Step 4: Finally, wrap the remaining strands around the underside of your look and secure them beneath the bun for an effortlessly chic appearance that's perfect no matter where you go!
5. Bubble Top Knot Bun
Have you seen a bubble top knot bun worn cheerfully down someone's back? With the correct hair supplies, it is easier than what may appear initially.
All one has to do is go through these few steps and turn this intimidating task into an achievable mission with great confidence. Not only will it be easy to ace getting this hairstyle right at home, but it will leave you looking sophisticatedly stunning, too! Let's break down how it can be done:

Things You'll Need to Get Started:
- Hairbrush: It will help you smoothen your hair while tying it up
- Hair spray: This will keep your bun in place and reduce frizz
- 2 Elastic bands: These are essential for creating the bubble effect in the bun
- Bobby pins: Use them to secure any loose strands or add extra hold to the style
Steps to Achieve the Look:
Begin each day with a trendy hairstyle that exudes effortless charm: a bubble bun!
Step 1: To create this luscious look, start by gathering your hair into a high ponytail and securing it tightly with an elastic band. Give yourself a spritz of extra strong hold hairspray at both the top and bottom of the ponytail.
Step 2: Then, add another elastic band directly below the first one. Now comes the fun part: grab the ponytail between these two bands to widen the bun into its signature 'bubbly' effect.
Step 3: To enhance this volume even further, loosen some of the hair above the initial elastic Band until you have wispy strands lifted off your neck, and then thread them through the higher ponytail section for a tousled finish.
Step Step 4: Once you have selected how you would like to style your bubble bun, twist and pin any shop straggler hairs in place to frame your face perfectly before sealing them all down with more hairspray. Finally, enjoy your look; you now have that chic, voluminous, vaguely waved effect in no time!
Does A Top Knot Damage Hair?

Many people wonder if wearing a top knot regularly can cause damage to their hair. The answer is it depends on how you tie your bun and the products you use.
- One of the most common causes of damage from wearing a top knot is using tight elastic bands. These bands can pull at your hair, causing breakage and even leading to traction alopecia over time. To avoid this, opt for soft, fabric-covered elastic bands or scrunchies that won't tug at your hair.
- Another factor to consider is the tension you place on your hair while tying it up. If you constantly pull your hair tightly into a bun, it can cause damage and weaken your strands. Instead, aim for a looser bun with some slack in the elastic Band. This will help to distribute the weight of your hair evenly and prevent any one area from being under too much pressure.
- Additionally, using a hairbrush with stiff bristles can also contribute to damage while tying a top knot. The aggressive brushing motion can cause breakage and weaken your hair strands. Instead, try using a wide-tooth comb or your fingers to gently detangle your hair before tying it up.
For added protection, you can use a leave-in conditioner or serum to help nourish and strengthen your hair while it's in a top knot. As always, be sure to avoid using too much hairspray, which can make your hair stiff and prone to breakage.
Overall, wearing a top knot can be damaging if done incorrectly. But with the right techniques and products, you can rock a stylish bun without worrying about damaging your hair. Just remember to be gentle and opt for softer materials when tying your top knot, and your hair will thank you! So go ahead and enjoy that voluminous, vaguely waved effect in no time! There is no need to sacrifice your hair's health for a trendy hairstyle.
In A Nutshell
In conclusion, the top knot bun is a versatile and trendy hairstyle that you can create in five incredibly easy DIY tutorials that are suitable for any hair length and texture. Whether you're going for a faux bang look or something vintage, these tutorials are sure to give you the confidence that you need to rock your hair throughout the day.
Furthermore, don't be discouraged if your style doesn't last as long as you would like - certain hairsprays can help your top knot take over the day! As with any hairstyle, be sure to practice caution while wearing it since a tight knot can cause irreversible damage to hair. Now that you know how to do a top knot bun that lasts all day - go out there and embrace your inner goddess!


Leave a comment