


How To Do Box Braids? A Detailed Guide For You

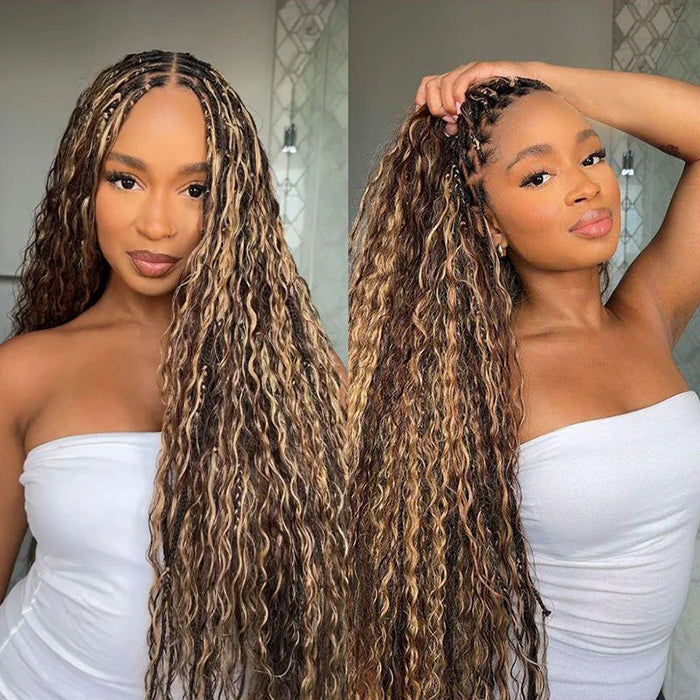
Box braids are the most versatile and popular hairstyles in the world of protective hairstyles among black women. It is not only easy to achieve, but it also forms the background for other hairstyles.
Knowing how to do box braids gives you the foundation you need to do other hairstyles like cornrows, twists, etc. Free-flowing box braids are usually the most adaptable hairstyle because they can be styled to form different looks.
Depending on what you wish to achieve, you can either use your hair or add synthetic hair/human hair extensions when creating box braids. Using your natural hair to create box braids allows for a lighter/natural feel. This is a great option if you have thin/fine hair. Doing box braids with hair extensions works if you want to achieve more length and volume with your box braids.
Whatever you want to achieve, creating box braids is easy. In this article, we will walk you through the process of creating box braids.
What Are Box Braids?
To be simple, box braids are three-strand braids that are divided into square-shaped sections. The difference between cornrows and box braids is that cornrows attach to your scalp all the way around, while box braids only attach at the root of their "box".
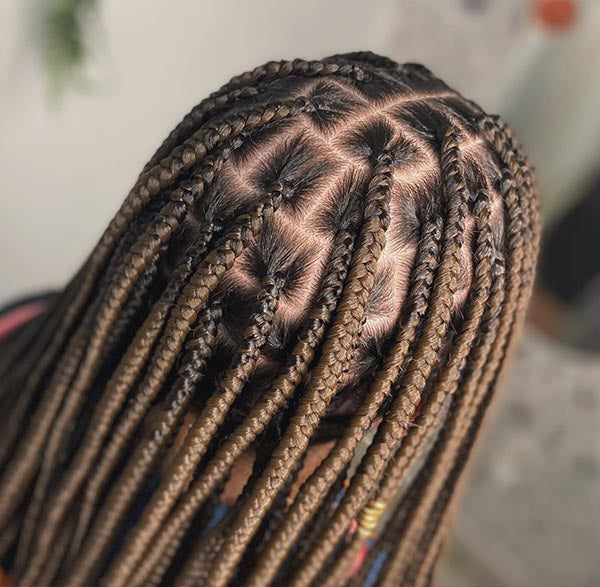
When making a box braid, a horizontal line is drawn across the head followed by a vertical one. The vertical line divides the horizontal line to form individual boxes. Single braids are then attached to the independent boxes. Although, other patterns/partings like the oval, star, or triangle work fine for box braids.
Tools/Hair Products You Need to Do Box Braids
For a simple hairstyle like box braids, you don’t need too many tools. You will only need tools/products that will help you prep your hair and the ones to ensure a smooth box braid installation especially if you are using hair extensions.
Prepping your hair before installing your box braid is a crucial step. Since box braids are protective hairstyles that last between 4 - 6 weeks, it is good to get your hair ready to be protected for this long.
To do this, you need to clean your hair and make sure it is well-moisturized before braiding. These tools and hair products will ensure just that.
Rattail comb:
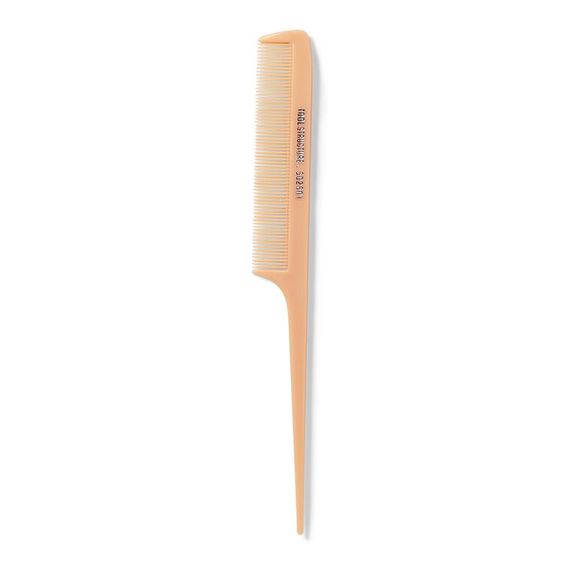
If your hair is tangled, you can use the tail comb to carefully take it down and then put it in sections before detangling it.
Wide Tooth Comb:
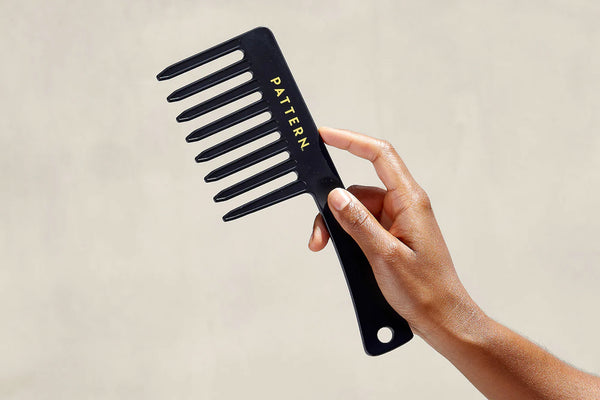
Use a wide-tooth comb to detangle your hair especially if it is a 4b-4c hair texture. Start from the tip to prevent breakage.
Conditioning shampoo:

It is important to wash your hair after a takedown or before installing box braids. A conditioning shampoo is a good choice because it leaves your hair moisturized - which is important since your hair will be covered in braids for a long time.
Hair conditioner:

Apply a wash-out conditioner after washing your hair with shampoo. This allows you to easily detangle your hair and reduces the frizz that might occur from the use of shampoo. Allow to sit for a few minutes, then wash out thoroughly.
Blow dryer:

Once you are done with cleaning and moisturizing, use a blow dryer to dry out/straighten your hair. You can also use the blow dryer to further detangle your hair - the more tangle-free your hair is the neater your box braid will appear.
Leave-in conditioner:

After washing and blow drying your hair, apply a leave-in conditioner to help your hair retain moisture. It is important for people with thick curls and low-porosity hair. It also makes the hair much more manageable, so you can comb and section it easily.
Moisturizing hair oil:

Applying essential oils after the leave-in conditioner helps to seal in the moisture. This way, your hair will stay moisturized for a longer time - in addition to giving your hair the vitamins and nutrients that it needs to thrive.
Now that your hair is clean, moisturized, and tangle-free, it is time to start braiding. Let’s go.
Simple Step-by-Step Guide to Braiding Your Hair
Once your hair is all prepped up, it's time for you to start making box braids. You can make box braids using your natural hair or by attaching some human hair/synthetic hair extensions. The process is almost the same for both, just slightly different.
A simple guide on how to create box braids on natural hair

To create box braids on your natural hair, you need the following.
a. A sectioning comb
b. Hair tie/sectioning clips
c. Wide-tooth comb
d. Medium-sized comb
e. Hairbrush
Step 2: Loosely tie up your hair in a bun using the hair tie. This allows you to work with smaller sections of hair at a time.
Step 3: Use the sectioning comb to put your hair in smaller sections. This is useful depending on the texture and length of your hair. If you have thick short hair, then you can put your hair into four sections instead of a single bun for ease of management.
Step 4: Start sectioning your hair horizontally and vertically to form the box on which you will install your braids. You can section it into different shapes to meet your preference.
If you want to create the regular box pattern, all you need to do is:
a. Use the sectioning comb to section your hair horizontally from ear to ear. You can go over the line several times to ensure it is straight.
b. Start to section the horizontal line you created earlier vertically to form a box. The amount of hair you leave out while sectioning your hair horizontally and the width of your vertical line will determine the size of your boxes.
The more hair you leave out horizontally and the wider the width of your vertical line, the bigger your boxes will appear.
Note: You can work with one box per time or create several boxes throughout the head before making the braids. Any of the methods work, it depends on how you prefer to work.
If you want to first create boxes all over the head before braiding, then you have to part your hair horizontally first using a one-inch measurement if you don’t have a measurement in mind.
Then vertically divide the horizontal lines using the same one inch. This will give you the perfect box shape to install your braids.
Step 5: comb through the hair parted in a box shape. Once it is tangle-free, divide it into three equal parts.
Step 6: Start braiding the hair. Once the hair is divided into three equal parts, start braiding by placing one part over the other repeatedly.
To do this, place the hair in the middle over the one on the right, then place the one on the right over the left while holding each section in place. Do this repeatedly to completely braid that section of hair.
Step 7: Create more boxes, then follow the same process to make the box braid until you are done with the entire head.
That’s it! You have successfully created box braids using your natural hair.
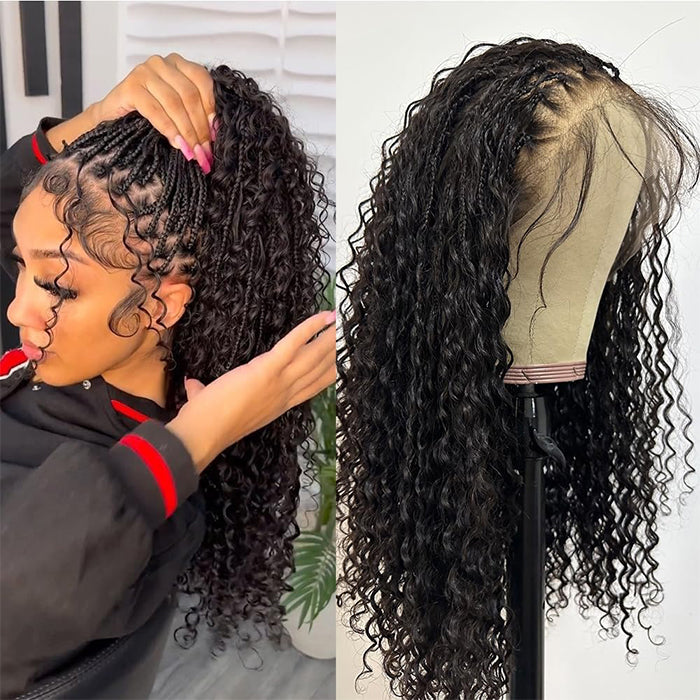
Quick Steps to Create Box Braids Using Hair Extensions
Creating box braids using hair extensions is different from when you are just using your natural hair. Although the process of prepping and sectioning the hair is the same. The difference is that you are attaching hair extensions.
If you are using bulk braiding hair, you will need to prep the braiding hair before attaching it. To prep your braiding hair extension:
a. Take it out of the pack.
b. Cut the hair extension into different sections depending on your desired length.
c. If you want it long, then you can cut it into two or just loosen the braiding hair if you want it very long.
d. After cutting, pick the blunt edges of the hair to even them out and make them appear hair-like and more natural.
e. Apply hair cream, hair oil, or conditioner to moisturize the hair and make it easy to manage. It also helps to make the hair extension blend perfectly with your natural hair.
Once your hair extension is prepped, go ahead to attach it to your natural hair in these easy steps.
Step 1: Section your hair and put it in the already created boxes depending on your preferred size. Follow the same process for creating box braids on natural hair.
Step 2: Once you have put your hair in different box sections, pick an inch size of braiding hair then divide it into two.
Step 3: Bend the two parts of the braiding hair from the middle. Create a loop with the two braiding hairs.
Step 4: Part the looped braiding hair to form three parts. When you put the two sections of braiding hair in a loop, you will have four sections. Merge the hair in the sections to form three sections.
Step 5: Attach the braiding hair to your natural hair by picking one section of your natural hair simultaneously with the hair extension. Since you have three sections of your natural hair and three sections of the braiding hair, pair them one after the other for smooth blending.
Step 6: Braid the hair. Once you have a pair of braiding hair against the natural hair, then you can go ahead to braid.
To braid place the middle pair over the right, and the right over the left to create the braid pattern.
Continue the process until you are done with the hair and the whole head.
Note: You can use a braiding gel to easily make the braiding hair seamlessly merge with the natural hair. This will ensure a cleaner result.
That’s it. You’ve successfully created a box braid using hair extensions.
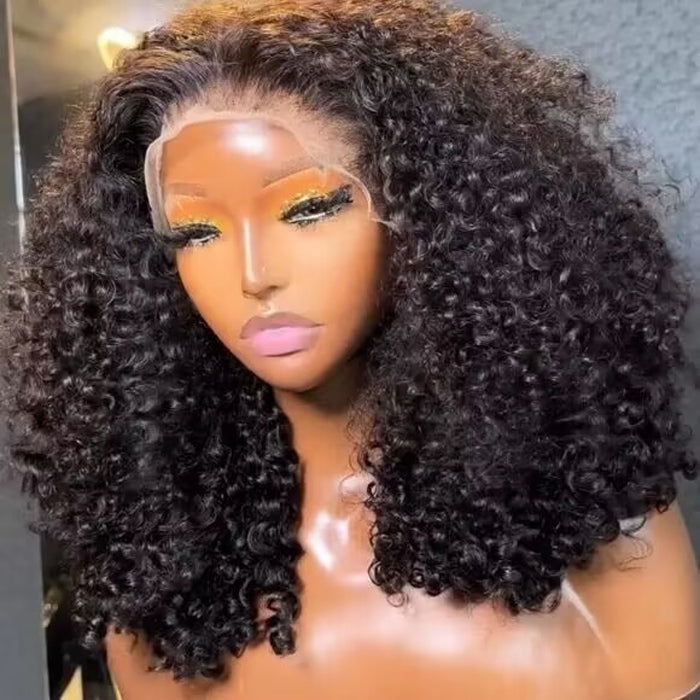
Box Braid Hairstyles
Final Thought
Box braids never go out of fashion, and you can wear a beautiful box braid hairstyle while protecting your natural hair and giving it some time to grow.
If you are looking for a gorgeous protective hairstyle, try the box braid. They last long and are pretty easy to install following our simple guide.


Leave a comment