


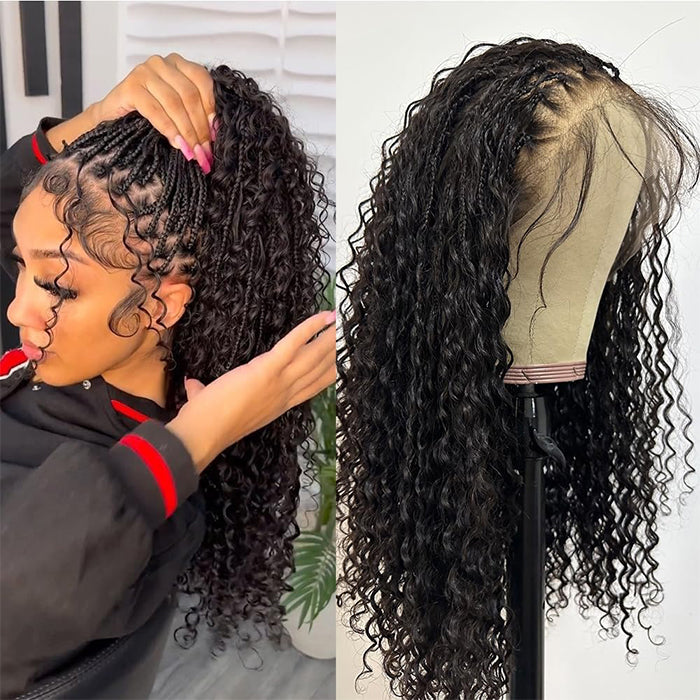
How to Fix Cutting Too Much Lace on a Wig? (Easy Fixes That Work)

Did you accidentally cut your lace more than you should have, and you're searching for a way to fix it? Well, I'm about to show you how to fix cutting too much lace on a wig.

If such an accident occurs while you're installing your wig, don't cut any further. Take a moment to go through this post to see how you can fix it and salvage it before doing anything. You may be panicking, but it's totally fine. You can still slay your lace front wig beautifully.
Now that I have your attention, here’s what you can do if you've cut too much lace off your wig.
How to Fix Cutting Too Much Lace on a Wig?

Don’t worry, all hope is not lost if you cut too much lace off your wig. However, assess the situation first.
Whatever action you decide to take depends on how large the damage is and where. Is it in the middle part of the lace? Did you cut off a large part of the lace? Does it no longer fit? Or does it still fit? Once you’ve evaluated the damage, you can choose the best way to fix the lace.
Here are a few ways to fix your lace front wig immediately.
1. Use Concealer to Hide the Area

The first way to fix cutting too much lace on a wig is to apply a concealer that matches your skin tone on the exposed area.
High-coverage concealers or foundation can give the area the illusion that a lace is still there. This will help create a natural look even though you’ve made the mistake. Makeup will cover the visible gaps created.
So, get your makeup and a thin brush, then apply the product to your hairline. Make sure it is seamless to avoid it becoming cakey. Also, apply the product around the lace of your wig and blend properly to create a long-lasting effect.
2. Add Another Lace
Another solution that works is to add lace to your wig. You can ventilate a new piece of lace onto the wig to create the perfect lace front.
@jhprevivals Hairline extension service is a great way to amend poorly cut lace without having to purchase a new one. Send a message or email for a quote today 💜 #ukhairstylist #wigrevamp #trending #xyzbca #foryou #wigs #wigmakersoftiktok #wigventilating #viral #fypシ #closurewig #frontalwig #lacerepair #fyp ♬ The Weekend - Stormzy
Simply get an extra lace and sew a patch onto the edge you want to fix. That way, you’ve extended the hairline, and you can style as you wish.
This is a more permanent solution that allows you to style with ease even after now. However, you must have good sewing skills to avoid damaging the lace of your wig further.
Purchase your lace at a wig supply store, then cut the desired size by first placing your wig on the lace to get the exact measurement.
Remember to leave the sewing allowance before raising your wig and cutting the size you need. Be careful as you cut to avoid cutting too small and wasting the lace.
Next, get your needle and thread to sew the new lace to your wig. Do this carefully to make sure it is seamless. After sewing, cut out the excess lace for a natural look, then style your wig.
For a temporary result, you can also choose to glue in a small pieces of lace like the following video.
@petitelavish 🚨🚨 ever just cut too much lace on your frontak and dont know what to do? #lacewighacks #wiginstall #wigtok #brisbanewigstylist #wigstylist #petitelavish #fypシ #blackgirlwigs #melbournewigs #blackgirlwigs #tapeins #kinkystraightwig #wiglife ♬ I Got It - thuy
3. Thin the Front Hairline
If you aren’t sure of your sewing skills and want a more permanent solution, you can thin out the front hairline of your wig. But this requires your pre-plucking skills.
@thehairdiagram Let me know what else y’all need help with??????
♬ original sound - Thehairdiagram
Gather your tools first. You will need a mannequin head, straight pins, the wig (of course), a spray bottle, a comb, and your tweezers. Simply pluck the hairline to create a natural look. That way, you can install the lace.
- Place your wig on the mannequin head and pin it down with straight pins.
- Spray your hair and brush it to the back with the comb.
- Use your tweezers and pluck the hairline to create a realistic look again.
When tweezing, I’ll advise you to pluck and skip. This will make it look more natural. Make sure to brush your hair continuously to the back during the process to see the outcome. And once you’re done plucking, you can style your wig.
This fixes the situation, and you won’t need to use a temporary solution to hide the damage every time you style.
4. Create Baby Hairs
This solution helps to camouflage the damage and cover the area where the lace is too short. So, to avoid making the mess visible, add baby hairs to your wig.
Not everyone is a big fan of baby hairs, but you can make yours look as natural as ever.
Start by cutting out the hair where the problem is. You can use a small razor or scissors to cut the strands short. Remember that you are cutting the strands at the front of the wig. Just pull the strands forward, then trim them to about an inch.
Next, lay down the hair with a styling gel or mousse. This should be like when you’re laying down your natural hair with gel. Let it lie flat on your skin to hide the edge of the lace. Create the same swoop at the other side to give you a natural look.
5. Glue to Your Skin
If a small amount of lace is left, you can glue the wig directly to your head. Simply use a strong glue to create a bond to prevent your wig from moving. Make sure the glue isn’t directly applied to your hairline. Instead, let it be around ½ inch or 1 inch away from your edges.
Apply the product and wait till it becomes tacky, then press the lace down with your comb. Leave it to melt by tying a melting band and waiting it for about 15-20 minutes. Remove it afterwards and style your wig.
6. Use a Wig Grip or an Elastic Band
You can also consider using a wig grip to hold the lace wig in place or sew an elastic band to make the lace front more secure. This solution only works, though, if you’ve mistakenly trimmed the wig too far in the back and not created a big size damage in one part of the lace.
The wig grip adds security in front and ensures your wig lies flat. Get a silicone or velvet wig grip and wear it, allowing it to sit behind your hairline. Put on your wig afterwards and style it.
Using the elastic band method, place your wig on a mannequin and measure from ear to ear from the back of the head. Cut out your elastic band and sew it to the inside of the wig. If it’s difficult to sew from the back, you can simply join them at each ear from the front, then flip the elastic band to the back.
7. Seek the Help of a Professional
The last but not least solution I will offer is to take the lace wig to a professional. I know you may have planned to wear the wig for an event. If it’s possible, consider other wig options and seek the help of a professional. This is especially for those who are scared of working on their wigs themselves with the techniques above.
A professional stylist always knows what to do and how to make your wig look incredible again using these methods. So, if you’re not really good at DIYs, then at all costs, avoid doing anything yourself and visit a professional.
How to Cut Lace on Your Lace Front Wig Next Time Without Cutting Too Much

Cutting your lace front wig perfectly not only gives you a natural hairline, but it also helps you avoid causing damage (well, like cutting too much). Follow this step-by-step guide on how to cut lace on your lace front wig without cutting too much.
Step 1: Prepare Your Hairline
Brush the hairline to the back to ensure it lies as flat as possible. If you’re cutting on a mannequin head, pin the wig in place to avoid it moving while you cut.
Step 2: Start to Cut
Pull the lace forward to have extra inches beyond your natural hairline, and comb the hair to the back once more. Cut off the lace around your ears with scissors or an eyebrow shaper. I’ll always recommend that you use a tool that you are most comfortable with to avoid making any mistakes.
You can cut in a C-shape to allow the lace to lie flat around your ears. Move to the front and divide the lace into sections. This is like creating vertical lines with your tool. Once you’ve done that, start cutting in a zigzag motion. It will give you a natural hairline and allow the lace to blend naturally into your skin.
Quick Tip: Do not cut too closely. Always leave a few inches of your lace.
Step 3: Style Your Wig
After cutting, install your wig with your glue and style to achieve what you want. You can use your heat styling tools to create the desired result.
Conclusion
Fixing your lace wig after cutting too much won’t be so overwhelming if you take a step back to assess the damage done before doing anything. It will help you avoid causing any more damage and solve the situation clearly.
Also, consider the methods listed above to fix your lace, and if you can’t do it yourself, make sure to consult a professional stylist.


Leave a comment