


How To Loose Your Tight Curls?

Having natural curls is something that many dream of having, but with them can come a desire to explore a different look. You may notice that your natural curls look shorter after washing and blow dry. Thus it can limit your styling choices.
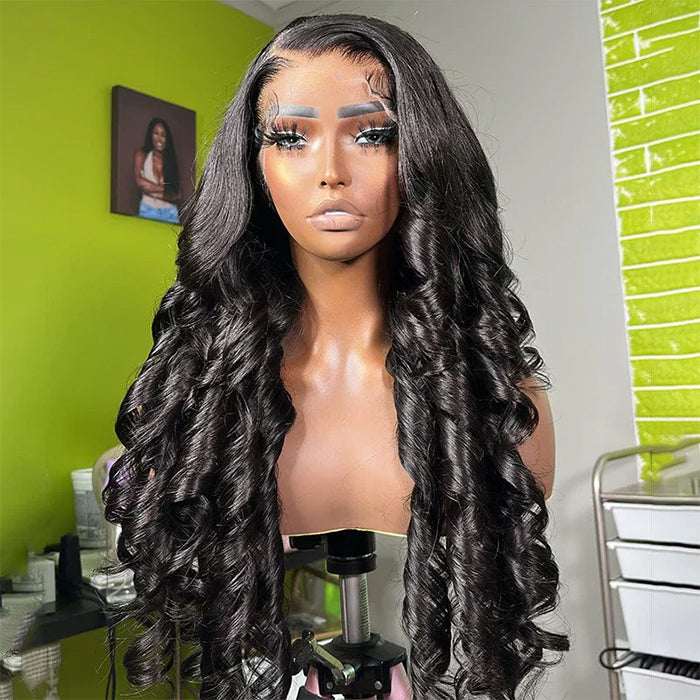
Flowy beach waves? Perhaps you want something more tranquil and relaxing than your customary bouncy curls.
Here you can choose to loose the curls to make your hair look longer and fuller, this process is also referred to as stretching. Whatever you seek to accomplish, we'll equip you with all the knowledge necessary to loosen your curls and make whatever hairstyle your heart desires a reality. We'll start by teaching you to identify and understand the many types of curl patterns present in beautiful tresses – and then show you specific procedures to achieve looser structures. Let's dive right in!
Understanding Your Curls
Knowing your curl type.
It is essential when it comes to achieving soft curls. Everyone's hair is special and made up of different curl patterns, ranging from loose waves to tight coils. A helpful way to determine your own curl type is using Hermosa Hair's Type 4 hair guide – this divides hair types into four: type 4a, type 4b, and type 4c. It'll give you an idea of how to care for your specific curls in order to get the desired result.

For example, those with coarse African American hair with tight spiral curls may need different tools or treatments than those with finer curls. Regardless of what texture or style your hair has, understanding the basics lets you start off on the right path so that you can accommodate every single annual trend — creating never-ending possibilities for hairstyles.
Understand the structure of your hair.
The shape of your hair follicle and the amount of moisture in your strands can affect how curly or straight your hair appears. For example, those with round follicles tend to have curlier hair, while oval-shaped follicles produce wavier locks. Understanding the structure of your hair will help you determine which techniques and products will work best for loosening your curls.
Three Techniques for Loosening Curls
Now that you've had the opportunity to get to know your curls, it's time to explore techniques to achieve looser locks. You'll find that there are three main techniques you can use, but keep in mind that everyone is different and your hair is unique, so it's a great idea to experiment with various methods or combine them together to find what works best for you. So, let's dive into the details of these methods and take a better look at what they have to offer:
- The Braiding Method
- Tug Your Hair With Hands
- Blow Dryer Method
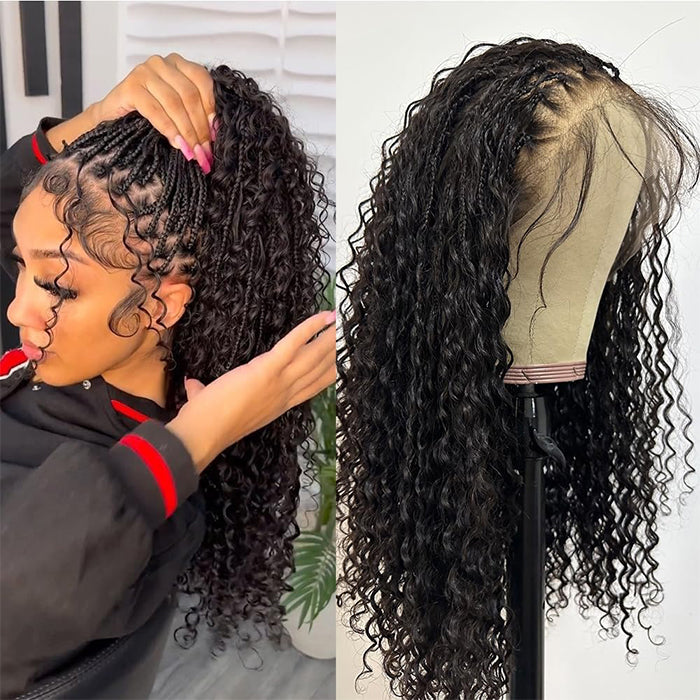
Method 1: The Braiding Method
It comes as no surprise that we are exploring a method of curling hair without any risk of heat damage. The braiding method is the simplest and most straightforward way to do it. However, a willing attitude towards preparation and patience for achieving the best results must accompany the process. In theory, this style is fairly easy to carry out but takes closeness to detail for perfect curls. Let's get into the details:
Step 1: Prepare 3 stretched hair bands

If you want to get perfect curls, here's where to start! Gather up three stretched hair bands and prepare for an at-home styling. It's ideal to start with freshly washed and conditioned hair because it really maximizes the results. As you gather your materials, make sure your hair is still damp. Starting work with wet hair will give you the best outcome for this style.
Step 2: Apply oil
Before start stretching your hair, you may want to add some oil to improve its texture. Taking a few minutes out of your evening routine can make a big difference.

Begin with a small amount of oil in the palms of your hand and start applying it at the ends and working slowly up towards the roots. This will break down the crunchy feel of the product on your hair strands and maximize shine! Additionally, it helps moisturize dry hair, eliminating frizz and ultimately adding volume to dry, brittle ends.
Step 3: Take one section of your hair and put the rest away

Begin the styling process with a single segment of hair ─ make sure it's just the right amount so you're not tackling too much at a time! Consider using a clip or hair tie to separate this part of your head away from the rest. That way, when you move onto other areas, this part will be safely tucked out of sight. Then, you can concentrate on giving that isolated section a fresh and fabulous 'do.
Step 4: Braid down the length of your hair
Take the stretched hair band and wrap it around evenly like a ponytail. Make sure each end still tugs tight for maximum accuracy. Now, move down to the top section of your hair and begin creating your braid. Work all the way down as far as your desired length.

Want a more natural look? Try leaving out a few strands from each section, giving them free range to maintain a lusciously light bounce and illustrious natural curl. Not only is the final result stunning, but this extra step adds incredible texture and dimension for an overall mesmerizing aesthetic.
Step 5: Continue to Wrap and Preserve Your Curls at Night
Preserve your curls at night time by continuing to wrap hairbands around the rest of your head, taking care not to pull too tightly, and keeping the bands securely in place. The next morning, you can loosen the hairbands and enjoy a beautiful loose-curl hairstyle that will last for hours!
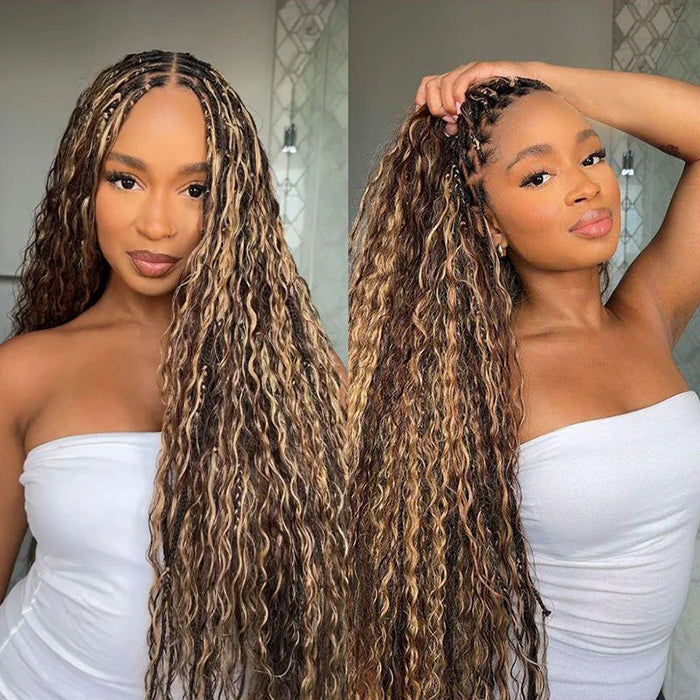
Method 2: Tug Your Hair with Hands
This method is perfect for those who prefer an effortless and carefree look. Not to mention, it's much faster to do than other methods. So, if you'd like a natural look and would rather not use a hairband sometimes, then this could be the one for you! Not sure how to get started? Here's what you do:

This method is simple - all it takes is a single hand tugging on each section.
- To help avoid friction and any potential damage caused by excessive pulling, apply a small amount of oil to each strand.
- Then, take hold of each section and gently stretch it until you reach the desired length.
Keep in mind that pulling too hard or for too long can cause breakage and damage to your 'dos, so take it slow while being careful not to discourage growth or harm your hair.
When finished, you'll notice a bit more body and volume in your hair. Not only that, but it can save time in the long run since there's no need for curling irons or rollers. Plus, this style works on both long and short hair, so you can use it irrespective of length! It's a quick and easy way to add some temporary length to your locks without the commitment of a haircut or extensions. So go on, give this method a try, and see how it works for you!
Method 3: Blow Dryer Method
Have you ever thought about using a blow dryer as a way to style your curls for added volume and length? Believe it or not, there is a little trick that can help you achieve all of this! Not only is this method quick and easy, but it also has a lower chance of breakage compared to other styling methods like hot rollers and flat irons. So, if you're ready to try this technique, here are the easy steps to get maximum length and minimum stress on your hair:

Step 1: Take your blow dryer and apply medium heat
Taking a blow dryer set to medium heat is the first step in stretching your hair. This temperature provides just enough heat to gently extend that curl but not too much heat to cause damage.
Cooler air may also be used if you have concerns over potentially damaging your hair with higher temperature settings. While it isn't as quick as working with hotter settings, it still gets the job done - and even better, it feels more comfortable if your curls are particularly sensitive! It's important to find what's best for you and your hair in terms of setting a temperature, so don't go overboard!
Step 2: Hold at an angle
Next, when you're using a blow dryer to style your hair, be sure to hold the dryer at an angle. Letting the airflow directed down the length of your strands will help ensure it's evenly distributed and won't cause damage.

However, don't forget about your hair roots! After all, some desired results can only be achieved with focused attention given to the roots of your hair. Make sure at least part of your heat styling session features spending some more time near the base!
Step 3: Hold Ends Out of the Way
Once you've finished blowing out a section of hair, it's time to move to the next step. Select another section and pull your ends in the opposite direction so they are situated away from the heat source.
This simple action helps guarantee that all of your hair ends will form into the same curls as if no additional heat had been applied at all. Consequently, you'll find yourself delighted by an elegant and effortless result, as opposed to a kind of stiff look that could be perceived as somewhat too robotically uniform.
Step 4: Repeat and Adjust as Needed:
Once you've completed blowing out a section of hair, take a step back to assess the overall look of your hair. If some sections appear shorter or tighter than others, simply go back in with the blow dryer to even things out more.
If you want particularly loose and relaxing curls, try letting your hair sit for a bit before returning to check on it. You may find that some of the tightness has relaxed - quite literally! Additionally, don't be afraid to adjust your technique as needed. This process is all about finding what works best for your unique hair type and desired results. Keep experimenting until you've achieved the perfect look!
Step 5: Tight vs. Loose
One aspect to keep in mind when blow-drying your hair is the difference between tight and loose curls. Depending on how much tension you apply to your strands while blowing them out, they can turn into either tight ringlets that resemble a mushroom shape or long, loose curls closer to that of Rapunzel.
Neither is right or wrong, but understanding this distinction can help you achieve your desired hairstyle more effectively. By playing with the amount of tension applied and the angle of the blow dryer, you'll be able to create a wide range of stunning looks for any occasion. So have fun and experiment with different techniques!
Step 6: Get Creative:
Once you've mastered the basics of blowing out your hair, don't be afraid to get creative and add your own personal touch. You can play with different products, such as mousse or serum, to enhance your curls or create a sleeker finish.
Additionally, consider using different tools like a round brush or diffuser attachment to achieve even more texture and volume. And remember, don't be afraid to step outside of your comfort zone and try new things - you never know what amazing hairstyles you may discover!
There is a video on how to loose your tight curls with blow dryer, check it out now!
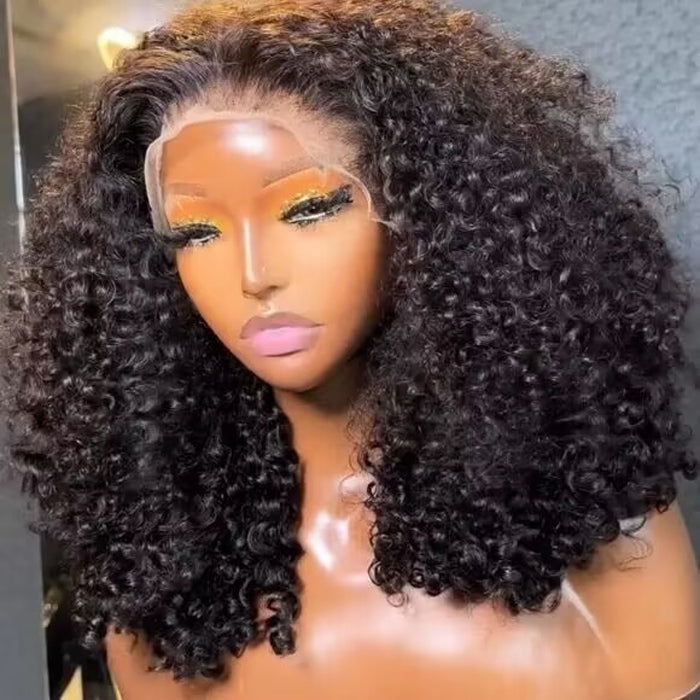
Can I Get Loose Curls on Short Hair?
Achieving loose curls is often easier with long hair, but you can also get this look with short hair. Selecting the right curling wand size for your length of hair will be important. If you have shorter strands, choose a thinner wand that's between 0.5 and one inch in size. Before styling, ensure your protection against any potential heat damage with some heat protectant spray. For best results, it's important to curl smaller sections of your hair at once as well. There is no doubt that through experimentation and patience, loose curls can be attained regardless of length!
In A Nutshell
In conclusion, embracing your natural curls is the key to having beautiful, loose bouncy curls. Taking time to understand your curls and experimenting with a few techniques to loosen them can help you achieve the perfect look that fits you.
When using the braiding method, tugging your hair with hands, or the blow dryer method, try to use products specifically made for your curl type in order to avoid damage and breakage.
During all these techniques, remember to take good care of yourself, such as drinking lots of water and exercising. Treat your body right and let us know by trying The Ultimate Guide to Loosen Your Curls!


Leave a comment