


How to Melt Lace on a Wig: Step-by-Step for a Flawless Hairline

I’ve been there, with my lace line clearly visible and everyone able to tell exactly where my wig started. I’ve also been there, with little, small gaps and lifting lace around the sides of my wig, all because my lace didn’t melt properly. Embarrassing, right? I know.
But if you’ve had such embarrassing moments like me, this post is for you. Mine became a thing of the past after I learnt how to melt lace on a wig. Now, I can say for sure that I’m a pro (LOL 😉), and you can be, too.

No longer will your photos reveal where your lace starts, or leave you with a thick, bulky, and unnatural finish. Instead, you can have a style that looks like it’s growing from your scalp, and lies flat on your head.
And that sounds so much better. So, check out how to melt lace on a wig in this post.✍️
Gather Your Tools
The first thing I’ll want you to do is to gather all that you need for the process.
Here’s a list:

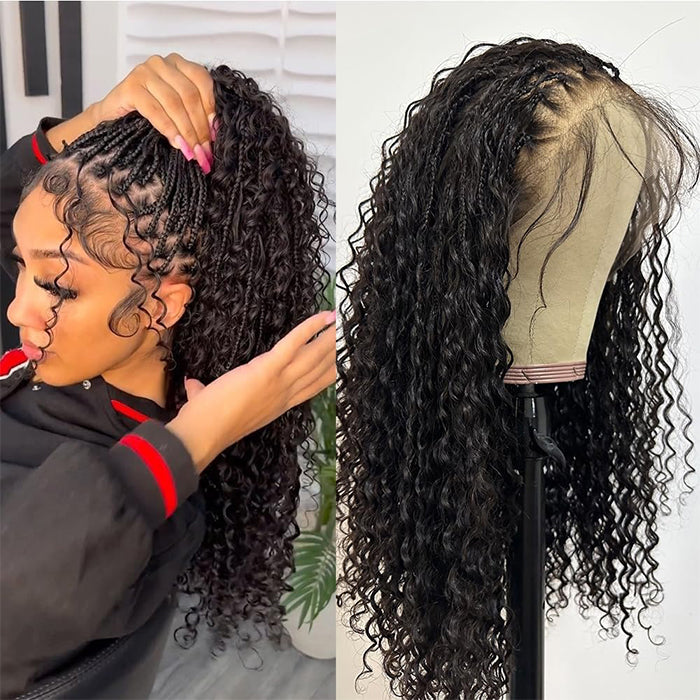
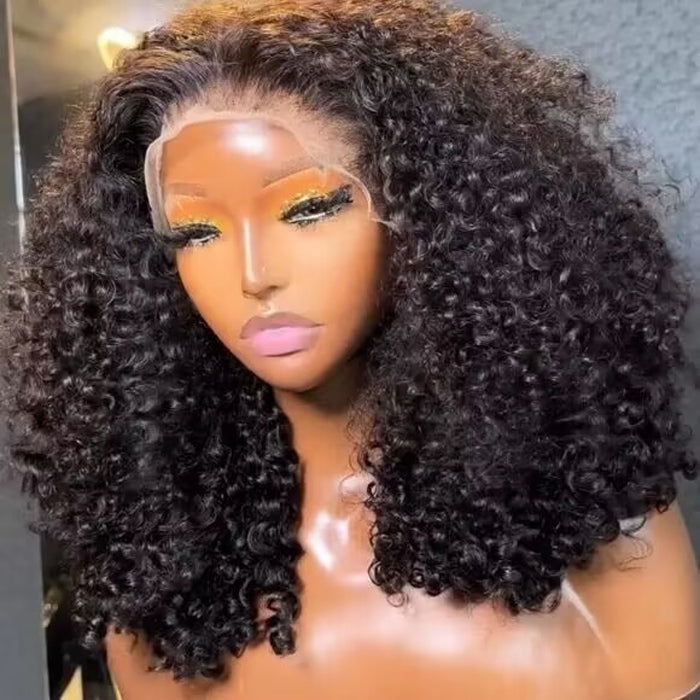
- Your Lace Wig (Personally, I recommend installing a high-quality wig with HD Lace or Transparent Lace)
- Alcohol
- Eyebrow Razor
- Hair Brush
- A Blow Dryer
- A Rattail Comb
- A Wig Cap
- Cotton Wool
- A Wrap Strip
- Hot Comb
- Makeup (Foundation or Powder)
- Scissors
- A Slanted Tweezers
- A Towel
- Soap (Optional)
- Water
Once you have all your tools, you can get right into the process.
A Step-by-step Guide on How to Melt Lace on a Wig
The common mistake we all make when installing our wigs is that we tend to rush the process and want to get it done fast. Unknowingly, this causes your lace not to blend beautifully with your skin.
So, take your time with the process I'm about to share and follow it carefully.
Step 1: Prepare Your Natural Hair

I know you may be wondering what preparing your natural hair has to do with melting lace, but freshly laid flat hair is the foundation to getting a nice result.
Go ahead and braid your hair into cornrows, then brush the edges to keep them from flying.
You can use cotton wool soaked in alcohol to cleanse your hairline. This removes dirt, oil, and product buildup, helping the lace stick securely without shifting throughout the day.
If you prefer not to use alcohol, another option is to apply soap where you will melt your lace and use a damp towel to clean.
Let this dry for a while.
Step 2: Prep Your Lace Wig

Once you’ve prepped your natural hair, get your lace wig and cover up the knots. You can use makeup for this. Simply turn your wig inside out, apply foundation to a brush, and cover the lace of the wig with it.
Also, get your slanted tweezers and pluck your wig’s hairline for a natural look. Although this might look difficult, it is actually easy. Just use a pluck-skip method to avoid over-plucking your wig.
The prepping step for your wig may not be necessary if you purchase a pre-plucked and pre-bleached wig.
Step 3: Wear A Wig Cap on Your Head

Now, put on a wig cap that matches your skin. You want it to look exactly like your tone or match it really closely.
Generally, the wig cap creates a flat surface for your wig. So, wear it and let the edge of the cap sit at the front of your hairline. The next thing to do is to cut small holes around the ear area of the wig cap so that it lies flat. Once you’ve gotten this result, you can move to the next step.
Step 4: Trim the Wig Cap

With your freeze spray, hold your wig cap in place and apply some of the product on your hairline, moving from ear to ear. Blow dry afterwards.
Once you notice it is not shifting and is completely dry, cut out the excess part of your wig cap. Remember I told you to keep the cap a bit forward from your hairline? Well, it was for this reason.
You can cut the excess part in a straight motion and be careful not to cut too much or hurt yourself in the process.
Step 5: Blend Your Cap

This step is totally optional, but if you feel the cap doesn’t match your skin closely, you can apply foundation to your cap.
Simply load up your makeup brush with the product and pat it on the wig cap, especially at the middle and along your hairline.
Step 6: Put on Your Wig

Place the wig on your head and let the lace sit around where you want it to be. Pull it down over your forehead and position it for a natural look.
You can use the straps that come inside the wig to keep it secured, comfortable, and in place on your head.
Don't worry, if you’ll be getting a wig from Hermosa Hair store, you are in safe hands. The wigs come with adjustable straps that ensure they stay nicely on the head without being too tight or too loose.
Step 7: Use a Freeze Spray to Hold the Wig

Grab your freeze spray, raise your lace wig, and coat your hairline with the product. Make sure you apply it to your hairline, which is where the lace will sit.
While you apply, avoid getting the product all over your forehead, or clean it immediately if it does.
Step 8: Blow Dry Your Hairline and Secure the Wig

Blow-dry your hairline on medium or low heat. Don't keep it at a position. Move the tool from one end to the other to dry every part.
I know it can be a bit overwhelming because it determines how well it will turn out, but don't panic. As you dry with your blow dryer, press down the wig gently onto your hairline and the spray.
Step 9: Use a Wrap Strip around Your Hairline

The work of a wrap strip is to protect your hairline and hold the wig in place. So, pick up yours and put it around your hairline. Be sure it sits where it should before tying it at the nape of your neck.
Leave it for at least 10 minutes to allow the lace to melt properly into your hairline. If you have more time, you can leave it to stay longer. That way, it will definitely EAT.
Step 10: Remove the Wrap Strip
Now it's time to take it off. Use your scissors to cut off the wrap strip or simply unwrap it at the back. Many stylists actually cut it off to avoid lifting the melted lace, but if you don't want to, undo it gently. And for any area that may come up while you unwrap, use more freeze spray to keep them in place.
Step 11: Trim the Excess Lace
With your scissors or an eyebrow razor, trim away the excess lace. Cut the lace as close to your hairline as possible for a natural-looking finish. I’ll recommend that you use the zigzag motion when cutting. This makes the edges blend seamlessly and look natural. It will mimic the jagged pattern of our human hair.
Step 12: Apply Gel to the Lace’s Edges
Use the tip of your rattail comb to apply gel along the edges of the lace. Press it down to make the tiny bits of the lace flat on your head.
Step 13: Dry the Gel
Next, with your blow dryer, dry the gel along the edges. Gently move back and forth along your hairline to melt the lace properly. And if it’s still sticky or wet, you can continue the drying process till it's completely dry.
Another way to dry the gel is to use the wrap strip for about 15 to 20 minutes. This will minimize how much heat your scalp is exposed to.
Once that's done, clean any visible gel on your forehead or in front of your hairline with a wet towel.
Step 14: Last Touches
Voila! Your lace should now be fully melted into your scalp. Go ahead and add the finishing touches.
You can separate a few hairs from the wig to create baby hairs that mimic the natural hair, then gel them for a gorgeous look.
You could also apply makeup to your hairline if you feel it doesn’t match properly. But this is totally optional, especially if you’ve already prepped your wig earlier.
Use a flat comb to achieve a sleek style, so your wig lies down perfectly. That's it, ladies!
Quick Notes: The difference between adhesive spray and melting spray

People use various gel/glue products to keep the frontal wig in place while achieving a natural, flawless hairline. While some people use adhesive sprays, others prefer the melting spray or a combination of both.
Your preferred product option to keep your frontal wig in place depends on what’s most important to you. Here are a few tips to point you in the right direction.
The difference between adhesive spray and melting spray (which should you choose)
You should opt for an adhesive spray (wig glue spray) if:
● You want a stronger hold (great for a busy day without slipping)
● You want a secure hold that lasts up to 1 week (or more)
On the other hand, you can use a melting spray (holding spray) if:
● You want to achieve that undetectable natural hairline (like the wig is growing from your scalp)
● You want to install/wear the wig for a short time.
● You prefer a lightweight frontal and are willing to compromise on stronghold.
● You prefer a frontal that you can easily remove yourself with minimal effort (you can just use water).
Bottomline: If your goal is a strong hold that lasts for days, use adhesive spray. If your goal is to achieve a perfect, lightweight, natural effect, use the melting spray.
If you don’t mind enjoying the best of both worlds (natural hairline + Strong hold), combine the two products. Use the adhesive for a strong hold, after which you go in with your melting spray for that natural hairsline finish.
Common Mistakes to Avoid when Melting Lace on a Wig
- ❌Avoid applying lace to dirty or oily hair. It doesn’t allow your lace to stick well.
- ❌Using too much freeze spray and gel makes it look messy and really sticky. Don't use too much.
- ❌Do not press down the lace when your products haven’t dried. It doesn’t help that it sticks and melts well.
- ❌Using a lace that doesn’t match your skin tone and not tinting it makes it obvious that it is not your natural hair.
- ❌Avoid installing wigs with low-quality or thick laces. They don't give a natural finish.
- Bonus: Skipping any compulsory step in the guide above (Smiles 😊).
Conclusion
I am so certain you can now install your lace wig and get it to blend perfectly with the steps above. If you are feeling hesitant, go over the steps several times before you begin. Don’t worry, you’ll get a great result.


Leave a comment