


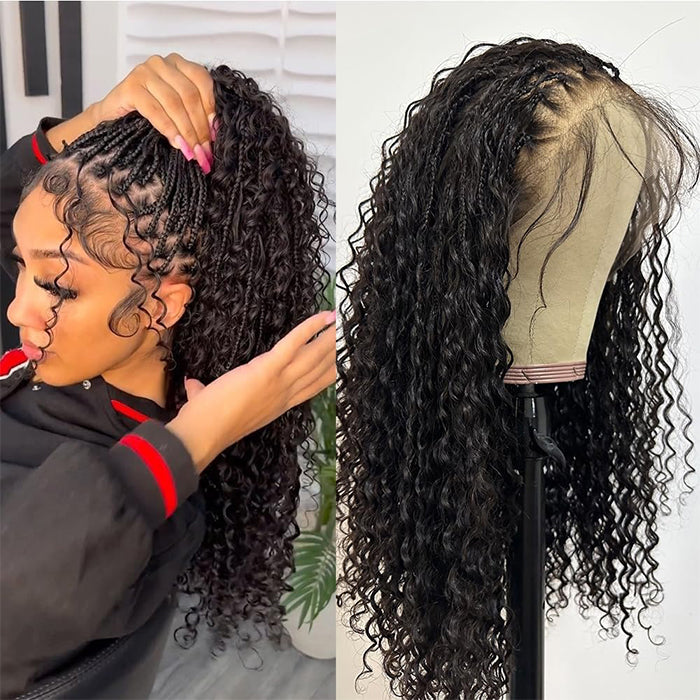
How To Thin Out A Wig For A More Natural Look?

As we all know, wigs come in different weights and densities. A too-dense wig may appear unnatural, so how to make your wig look more natural? In additon pluck the hairline, thining out is another can be an effective solution to getting your locks looking their best. Curious about how to do it? Look no further! Our step-by-step guide is here to show you how to thin out a wig with ease.
We'll provide you with all the necessary tips and tricks, helping you select the right tools and get that perfect finish. Whether you're a novice or an experienced wig wearer, this guide will provide you with all the information you need. Say goodbye to hair struggles and hello to a flawless and natural wig. Let's get to it!
What is Wig Thinning?

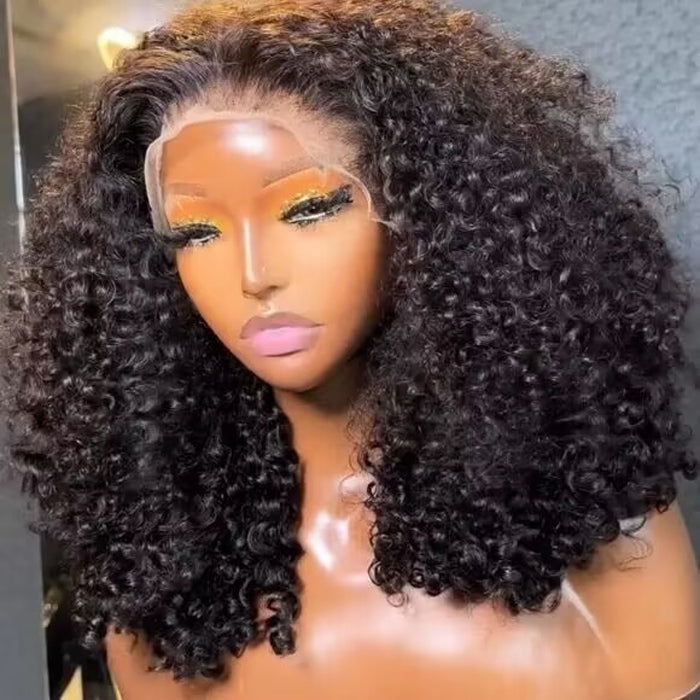
Thinning your wig is a smart method that can bring great results. It can reduce the density or volume of your wig, so you can achieve a more natural and effortless appearance. With a thinner wig, you'll have more space to style it and add extra volume if desired. Even if your wig is already full and luxurious, thinning it can still help you achieve a chic hairdo effortlessly. Whether you like a subtle or bold look, thinning your wig can help you find the perfect balance and enhance your appearance.
Why do Wigs need To Be Thinned Out?
Did you know that thinning out your wig can make a huge difference in how realistic it looks? Thick wigs often look bulky and unnatural, but a properly thinned-out wig will give you a lighter, airier, and more natural-looking hairstyle.

Plus, it's an easy way to add effortless volume and texture to your style. It's not just about appearance, though. Thinning out your wig is vital for comfort, too. If your wig is feeling uncomfortably heavy or hot, it might be time to thin it out.
Generally, it's a good idea to get your wig thinned out every six to twelve months, depending on how often you wear it and its overall condition. Keep an eye out for signs that it needs a thinning--if it looks too bulky or is feeling uncomfortable, it's time for a professional touch.
How To Thin Out Wigs Yourself to Get the Perfect Look?
Looking to thin out your wig? There are a few options available. Choosing to go to a professional hairstylist or wig specialist will ensure a seamless and smooth result, eliminating any room for mistakes. While this option can be costly, it's an excellent choice for those not confident in their wig-thinning abilities. However, if you're looking to save a bit of money, you can also do it yourself at home. While it takes time, the process is straightforward to follow. Ready to get started? Let's break down the steps.
The Tools You Need to Thin Out a Wig
You all know the saying--the right tools make all the difference! The same holds when it comes to thinning a wig. Make sure you have everything you need before beginning the process to ensure a smooth and successful result. Here's what you'll need:
Thinning shears:

These special scissors are designed specifically for wig thinning. Make sure to choose high-quality shears, as lower-quality options can easily damage the hair.
Hair clips:

Hair clips are great for keeping sections of the wig in place while you work on them. You'll need a few clips of various sizes.
Wig brush:

A soft-bristled brush is essential for styling your wig and removing any excess hair.
Rat Tail Comb:

A small, fine-toothed comb is ideal for sectioning the wig and evenly distributing the hair.
Hairpins: This help tucks away small sections of the wig while you work on others.
Canvas wig head:

To keep your wig secure and in place, apply a small amount of head foam to the inside of the cap.
Once you have all your tools ready, you're good to go! Now let's move on to the actual thinning process.
Step-by-Step Guide to Thin Out a Wig
Now that you have all the necessary tools and supplies, it's time to get thinning! Follow these steps for a flawless result:
Step 1: Place the wig on a canvas wig head or wig stand
Once you have all tools set, put the wig on your head, think about how you are going to wear your wig, then identify any areas where the bulk is too heavy or needed to be thinned out to match your style. This will be your guide for where to begin trimming.

Next, place the wig onto a head form and secure it with T pins, ensuring it's snug and won't slip while you work. To perfect the process, consider using a head foam, canvas wig head or wig stand for added stability.
Step 2: Detangle the wig
Before proceeding to the next step, there is another thing important to do. Detangle the wig to move the tangles and knots, then you can have a clear appearance of the wig. This can help you do an accurate operation.
Step 3: Section the wig
Achieving a natural-looking wig involves a bit of technique, especially when it comes to thinning it out. One critical step is sectioning, which helps to ensure evenness throughout.

Start by sectioning the top layer of the wig and carefully clipping it off if too thick. Next, separate a small ¼ inch section to work on and clip back the rest of the hair. Begin sectioning from the back and sides towards the front, always starting with the smallest sections and gradually working your way up.
Step 4: Thinning Out
Note: Want to get a natural-looking, textured wig? Thinning shears are the way to go! These specialized scissors are designed to give hair a subtle, feathered look by selectively cutting individual strands. Unlike normal scissors, which can leave a blunt, choppy finish, thinning shears leave hair looking soft and natural. Just be sure to use them carefully and practice your technique before you go snipping away at your wig!

It's time to start shaping that luscious mane of yours! Take out your trusty thinning shears and get ready to sculpt. Position the blade carefully atop the layer of hair and slide the comb beneath. Pull the hair over the blade and chop away, then glide the shears toward the tips and snip. Work your way up section by section, expertly taking out bits of hair to create a natural, effortless look. But remember-- less is more! Precision is paramount with thinning, so take your time and give your hair the TLC it deserves.
Step 5: Comb Through
Comb through to remove the excess hair. The comb captures a small amount of hair set free by the thinning shears.
Step 6: Repeat the Process
To achieve the desired thickness, repeat the same steps you used to achieve the preferred look. You'll be able to perfect your thinning technique with practice and consistently achieve the perfect look.
How To Thin Out A Bob Wig?
@zullshairco How to thin out your wigs with thinning shears. #thinningscissors #stylingtips #howto #fy #StemDrop001 #wigtok #haircut #cuttinghair #wigtutorial ♬ Chill Vibes - Tollan Kim
Additional Tips for Thinning Out Wigs
Every wig has its unique texture, and it is important to keep this in mind when thinning out. Here are a few tips to help you get the best results:
1. Thin out a small amount each time
For those looking to achieve the perfect wig look, the key is to start small and build up gradually. Instead of diving in headfirst and making drastic changes, take the time to thin out hair only a small piece of hair at a time. This approach not only gives you more control over the result but also allows you to slowly build up to the look you desire. So don't rush the process; take your time and give your wig the attention it deserves.
2. Start from the top
As with any head of hair, each wig has its unique personality. To give your wig the perfect 'do, start at the top and let your fingers guide you downward. This method of hair distribution ensures that you don't end up with any lumpy or uneven patches. Plus, for thicker wigs, it's wise to pay particular attention to the midsection - this is where the magic happens!
3. Deal with blunt layers
When it comes to wigs, you may find that some have blunt layers that ruin the overall appearance. But fear not; achieving a natural-looking style is possible! With just a few careful snips from your thinning shears, those unsightly chunks of hair uniformity can be eliminated. Take your time and pay attention to the ends for a textured and well-blended look. Your wig will surely thank you for this transformation.
4. Always go slow and go pause because you can't undo anything that you do.
What Are the Benefits of Thinning Out a Wig?
It might seem like a lot of effort to put into a wig, but the results are well worth it. Here are just a few of the benefits you can expect to enjoy when thinning out your wig:
- An improved level of realism that's sure to turn heads.
- A more natural look and feel in comparison to wigs with thicker layers.
- The ability to style and mold the wig for added texture and flow.
- Enhanced versatility allows you to switch up your wig look with ease.
- A more lightweight fit that's comfortable and secure on the scalp.
How to Care for Your Wig After Thinning?
Taking care never hurts, especially when it comes to wigs. Here are a few tips for taking care of your wig post-thinning:
- Make sure the wig is secured properly before styling or brushing.
- Use the heat-resistant spray to protect the hair from heat damage.
- Only use recommended products, such as specific wig shampoos and conditioners.
- Avoid over-washing and stick to a regular maintenance routine.
- Store the wig on a wig stand or mannequin head when not in use.
- Invest in a quality wig brush to minimize tangling and frizz.
In a Nutshell
Now, you have everything you need to know about wig thinning and how to get your wig looking flawless. Taking the time to carefully thin out a wig is essential for creating a beautiful and natural-looking hairstyle. It's also one of the best ways to ensure your wig remains in optimal condition and looks as good as new over time.
Moreover, it can help avoid unnecessary damage and potential shedding. So take our advice, grab your scissors, and start thinning out that wig! With a little practice and patience, you'll soon have a perfect look—so get your wig looking fabulous today!


Leave a comment