



How to Install a Glueless Wig: Easy Step-by-Step Guide for Beginners

Look all fly and sleek with this easy glueless wig installation process.
Do you have a glueless wig sitting inside its package without seeing the light of day because you're afraid you won't install it properly?
I know what it's like to dread messing things up and ending up with a rough installation.
But here's what we'll do:
I'll walk you through a step-by-step guide in this post to achieve an incredible glueless wig style you'll love. Just follow these steps to create an install that doesn't slip or shift while saying no to any sticky situation, since you won't need to use adhesive (yay 😄).
Ready? Keep reading this post.
What is a Glueless Wig (How does a Glueless Wig Install Work)?

From the name, you might already tell it is a headpiece that does not require any adhesive or glue to stay in place. While some wigs are installed with gel, adhesives, or glue, you can do away with those tools and rock your wig style conveniently with this wig construction. What you make use of are the adjustable strap, combs, or elastic bands that come with the wig.
For example, all glueless wigs at Hernosa Hair store feature an anti-slip elastic band, a drawstring, and combs that help them stay in place, making them beginner-friendly. You can install them without glue and wear them conveniently without any worries.
These wigs also come pre-plucked, pre-bleached, with a pre-cut lace. You can even choose the lace size! Everything all in one.
So, if you do not wish to use glue, or you're a beginner who wants to take the easy route to achieve fantabulous styles, glueless wigs are for you. They are comfortable and will not cause damage to your hairline. Glueless wigs are designed to be removed at any time. They are ready-to-wear wigs you can rock if you have a sensitive scalp.
Check how you can install a glueless wig successfully below.
Tools You Need for a Glueless Wig Installation
While you do not need glue to achieve a natural-looking style on glueless wigs, for a gorgeous outcome, it's always best to get an HD lace, pre-plucked, pre-bleached, and pre-cut human hair glueless wig. This is because high-quality wigs blend more beautifully with the skin while also giving you a natural hairline.
You can check out Hermosa Hair store for some amazing glueless wig styles with different lace sizes.
Other tools you'll need to gather for your install include:

1. Wig cap
2. Rat-tail comb
3. Flat iron or curling iron
4. Hair mousse
5. Makeup brush and foundation
6. Wide-tooth comb
7. Edge control brush
8. Liquid concealer
A Step-by-Step Guide on How to Install a Glueless Wig
Step 1: Prepare Your Natural Hair

The first step to a sleek install that earns you compliments at every turn is a flat base. Trust me when I say this makes the process a lot easier, even for a beginner. You can easily carry out the other steps without stressing about a part of your hair bulging out or if the wig will stay in place.
So, start with prepping your natural hair for the install. Nothing beats fresh, clean hair under a wig. You can wash, then put your strands in braids, twists, or even a slicked-back low ponytail.
Step 2: Prepare the Glueless Wig
If you're getting a glueless wig from Hermosa Hair, you do not have to do a lot of prepping. 😍All you have to do is remove it from the package, then comb it from the tips to the roots.
👉Note: Some wigs might not need combing. Those with curls just need a little hydration and moisture to shine.
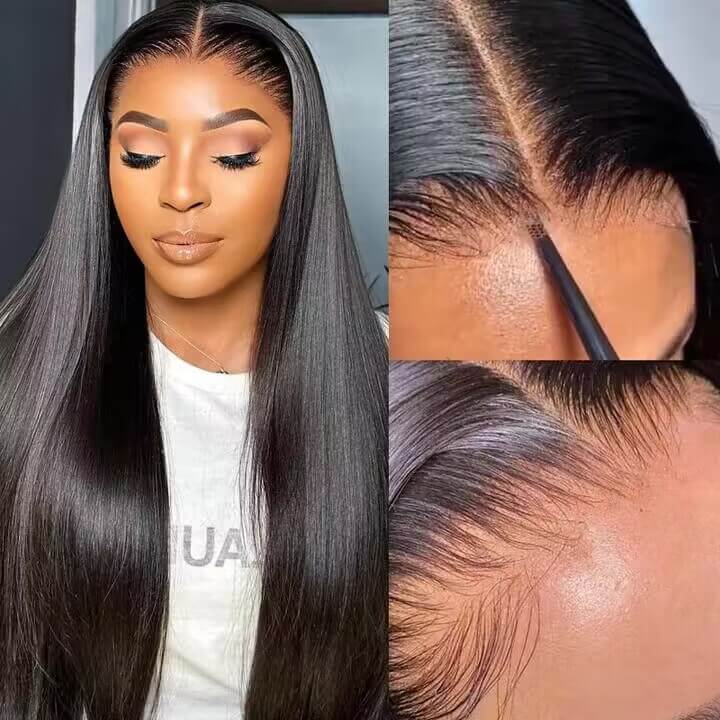
If you want to trim the ends, you can do that right here. Gently pull on the strands at the ends, then cut off those that stick out. This should give it a rounded shape and make it look more uniform. You can also cut off the excess lace and pluck the hairline if it doesn't come pre-cut lace, pre bleached knots, and pre-plucked. This is to make sure it blends seamlessly with your skin and looks realistic.
Step 3: Wear Your Wig Cap

Once the wig is well prepped, brush your natural hair edges and slick it with some gel. Next, tuck the ends of your braids in, then put on your wig cap.
Wearing a wig cap not only gives you a smooth surface but also protects your natural hair from the wig.
So, ensure your natural hair is well covered, and no strand is peeking through at any part. I like to check the nape of my neck, ears, and the front part to be certain, as these areas are the likely culprits. If your strands are sticking out, you can use your comb to brush those areas before wearing the cap properly.
👉Note that the wig cap should match your skin and the lace of the wig. It helps to create a natural appearance.
Step 4: Put on Your Wig

Now, place the wig on your head. At this point, you do not need to secure it with the built-in features. Just make sure to wear it the right way. For those who are new to wigs, the back part usually has an elastic band and drawstrings (Hermosa Hair wigs do!), and the front part has a lace with a visible parting.
🌟Let the front part of the wig face you, pull the adjustable strap behind the head, then use both hands to pull the wig to the back. Be gentle while you do so to avoid tugging on the wig or damaging the lace.
🌟Another method to put on your wig is to bend your head, then place the wig on from the front to the back before raising your head. Brush the strands once again before moving to the next step.
Step 5: Secure the Wig Properly

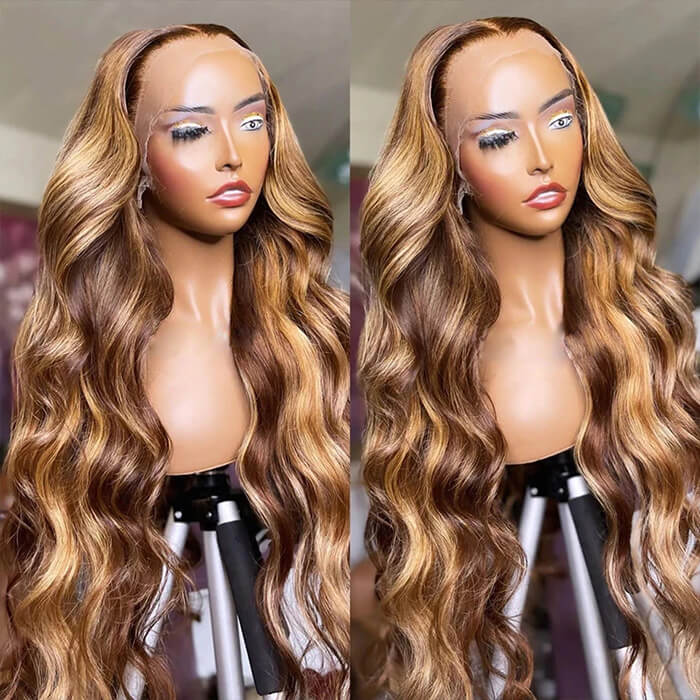
👉Shop This Body Wave Glueless Wig
With the features, secure the headpiece properly on your head. Clip on the four combs to your wig cap, tighten the drawstring, and adjust the tightness of the adjustable strap. Make sure it fits snugly, not too tight or too loose either.
If you're worried it might be too loose or might fall while you move, don't be. Wigs can stay securely on the head with the right amount of support. It doesn't have to be painful or cause a headache before you're certain it won't move.
So, be comfortable. If there's any pressure, you can loosen the drawstring and elastic band a little. The clips at the sides can also give extra security without causing pain.
Step 6: Adjust the Wig Properly
This is the perfect time to check if you need to make any adjustments. You can check if the ear tabs are properly aligned and the lace sits properly at the front. If not, loosen the wig to make the changes.
This ensures the wig not only looks right, but also provides you with comfort. But be extra careful. You do not want to damage the lace as you adjust the wig. If there are no issues, then you can go ahead and blend your wig.
👉Note: For more security, you can also apply wig tape to keep the wig in place.
Step 7: Blend to Your Head

We're almost at the end! At this stage, you can blend your wig to your skin for a natural appearance. One of the tricks to use is your foundation and makeup brush.
Simply dab your foundation with your brush a few times, then blend the edge of the lace with your skin. This is to give the wig a realistic look without any visible difference between the lace and your skin. You can do this a few times till it looks natural. But avoid using a lot of products in the area.
Once that's done, you can also apply a bit of liquid concealer on top of the parting line for a melted look. However, be sure not to coat the product onto the strands or the roots of the wig. If you aren't sure you can apply it without any mishap, apply it underneath the lace beforehand.
Step 8: Style the Wig
Finally, it's time to style your wig and bring your look to life with the finishing touches. You can add mousse after flattening the front section, then use your edge control brush to brush back the strands. This will create a natural look even without the use of glue.
For those with wavy wigs, you can use your curling iron to achieve more waves in your hair.
Quick Tips for Installing a Glueless Wig
Here are a few tips that can help you get the perfect look after install.
- Always install your wig on a flat surface.
- Be sure your wig cap and lace match perfectly.
- Do not place the wig too far forward or backwards. Instead, make sure it sits just right at the front of your hairline.
- If the lace is not pre-cut, trim it carefully to avoid cutting too much or too little.
Best-Selling Glueless Wigs in Hermosa Hair
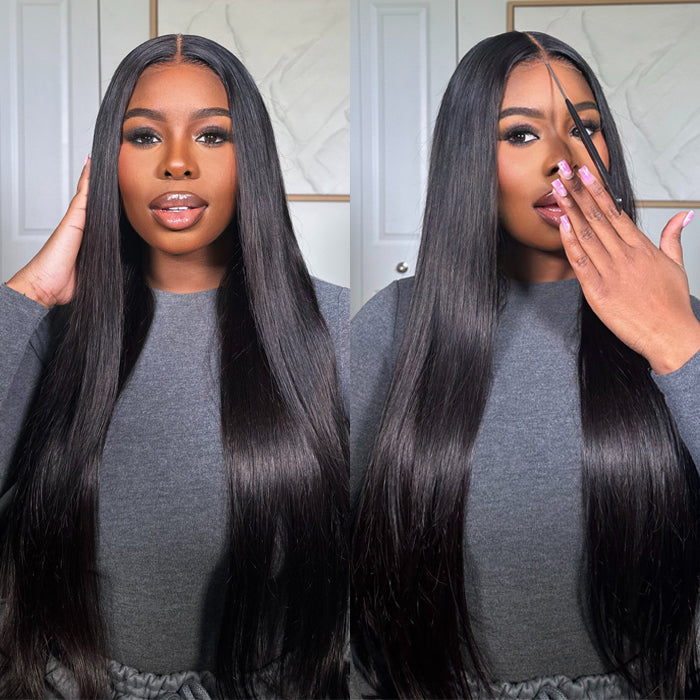
1. Straight 8x5 Glueless Closure Wig

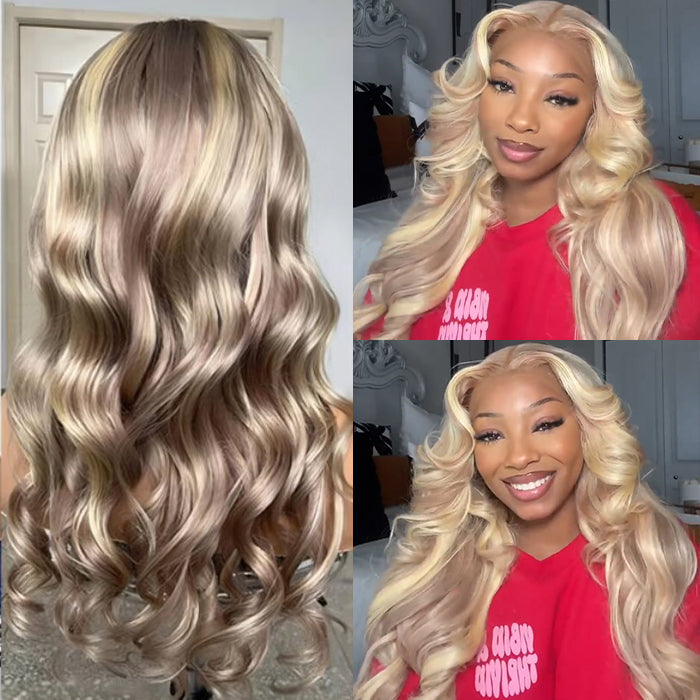
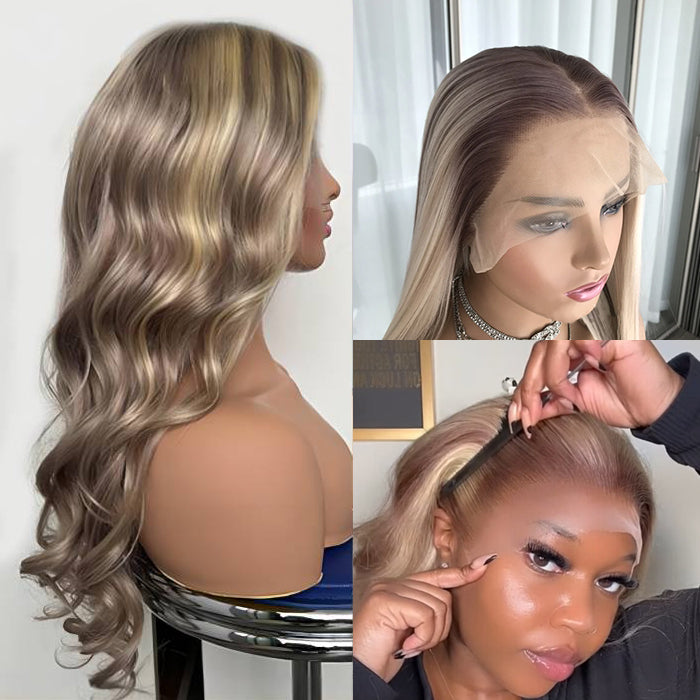
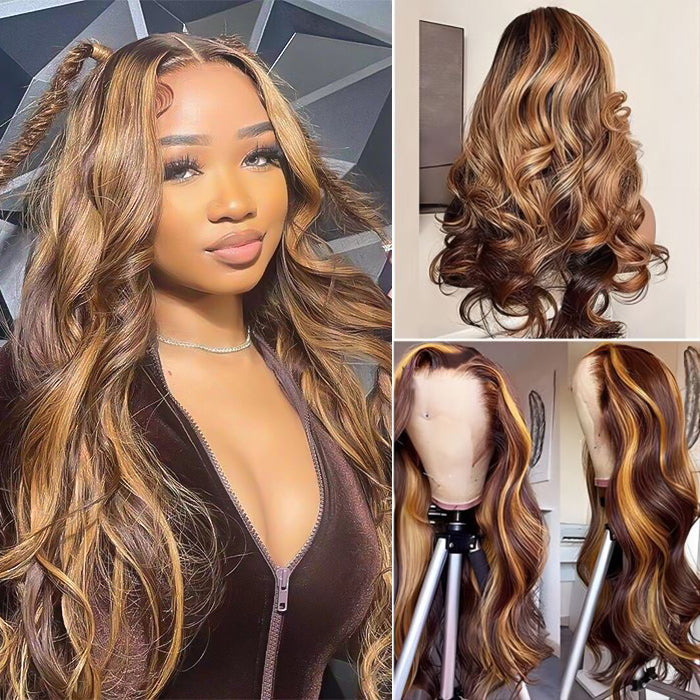
2. Honey Blonde Highlight Body Wave Glueless HD Lace Front Wig

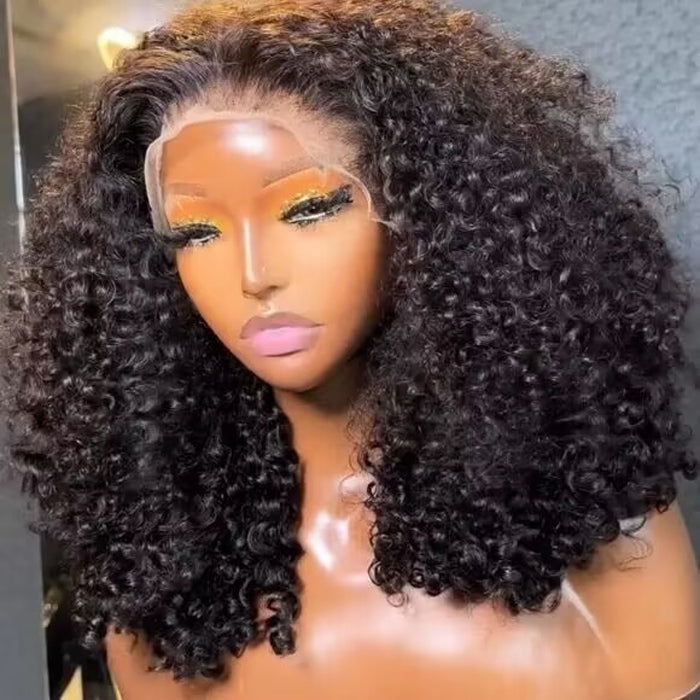
3. Burmese Curly Glueless Hd Lace Wig

4. Chocolate Brown Half Braided Glueless Wig

5. 613 Blonde Glueless Body Wave Wig

Conclusion
That’s it, guys!
A glueless wig installation can be simple and stress-free if you have the right wig and follow the steps I've mentioned in this post. Just remember my tips, hacks, and steps, and you will have no problem installing a glueless wig every time you want to rock one.
For some glueless wig options, don't forget to check out Hermosa Hair today.












Leave a comment