How To Put On A Wig? Ultimate Guide For Beginners
As we all know, wigs can be a great protective style that protects your natural hair and scalp, offer support for your natural hair growth, and gives you a realistic and gorgeous look. If you have never worn human hair wigs before, it can be intimidating to figure out how to put on a lace front wig. But here we have you covered with all the tips and tricks on frontal wig install. When ending up this article, you can rock your new unit without worry.
For newbies, whether to wear a wig cap can be tricky. It is always an ongoing debate existing for a long time among people. How do you know if you need to wear a wig cap?
How To Confirm If You Need To Wear A Wig Cap
There are several situations you can refer to from expert suggestions. Firstly, if you have a bald head or only have little hair, experts recommend wearing a wig cap, which can help secure the wig and protect your natural hair. Furthermore, a wig cap is also friendly for sensitive scalp since it adds an extra layer between your scalp and wig to prevent frictions.
However, no matter whether you have long hair or short hair, thick hair or thin hair, all are suitable for a wig cap. It depends on your personal preference. The advantage of tucking away your natural hair to a wig cap is avoiding glue and some potential damage during the installation.
Prepare Your Lace Front Wig
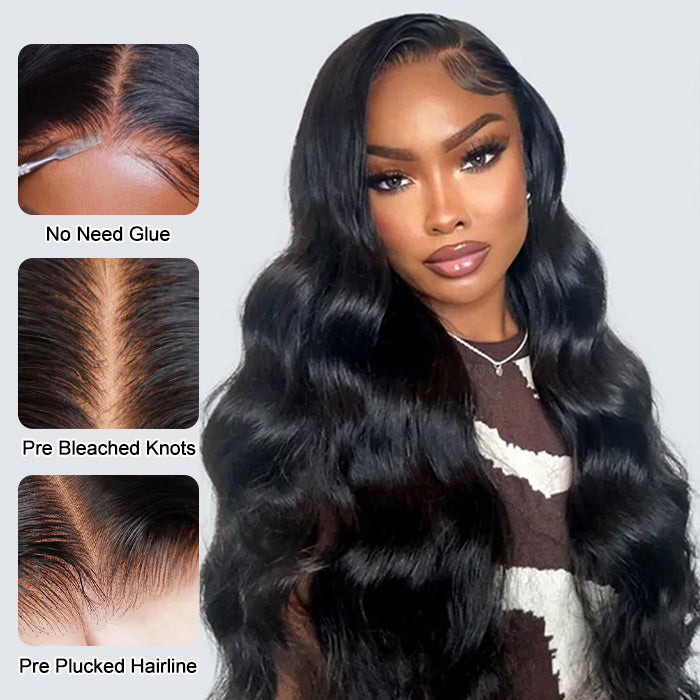
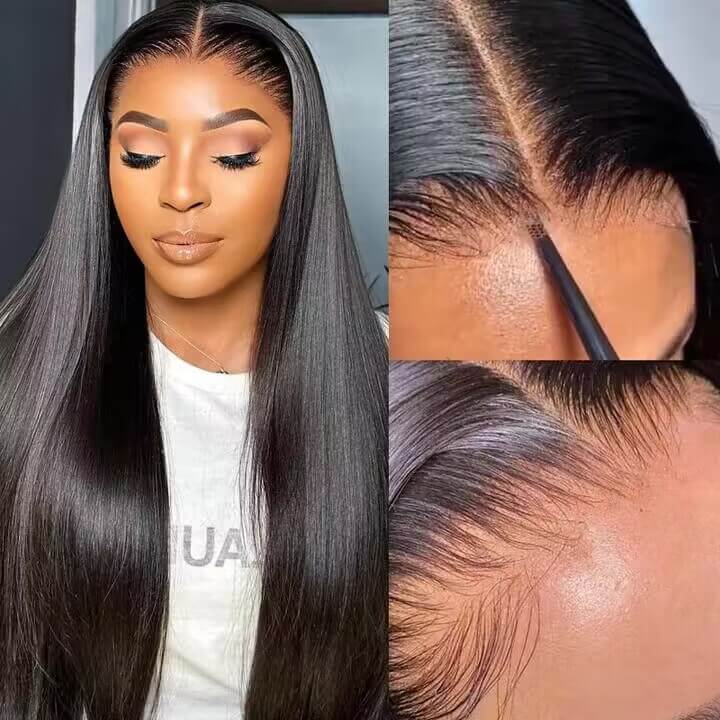
Ok, after confirming if to wear a wig cap, the next important step before installing the wig is to prepare your frontal wig. Hermosa hair all come with preplucked hairline, if you go with Hermosa hair, you can skip the plucking step. If you get a wig without bleaching knots and plucking hairline, here we will give you a guide.
How to bleach knots on lace wigs?
Bleaching knots is an essential step for a professional stylist. It is the best way to hide the visible knots on a wig.
Step1: Flip over your wig and secure it with t pins on a mannequin head.

Step2: Prepare bleach mixture. Mix equal parts professional developer and bleach powder in a mixing bowl. Dosage refers to instructions.

Step3: Gently brush the mixture into the knots to avoid seeping it into the roots.

Step4: Cover the bleached knots with aluminum foil and leave it for about 30 minutes. This time is not stationary, check from time to time to avoid over-bleaching.
Step5: After achieving the desired color, rinse it on time. Next, apply purple shampoo to remove the chemicals and tone the bleached knots. Once done, rinse again and apply conditioner to the wig for 5-10 minutes. Rinse it after.

Step6: Choose a microfiber towel to squeeze the excess water instead of blow dry, then let it dry naturally.
How to pluck the hairline?
Plucking a wig is the process of using a tweezer to get rid of the excess hair around the hairline of a lace front wig. It is tricky for new beginners. Thanks to Hermosa Hair wigs all come pre-plucked, which saves much work. Plucking the hairline is not as hard as you imagined. After you get familiar with it, everything will be fine.
First, place your wig on a wig stand and secure it with T pins. Then grab the tweezers and start plucking hair strands in front, imitate natural hair density, and evenly pluck the hairline. It may be going slow at first when you are not familiar with plucking. But if you have much experience, the process will be faster.

The next critical step is to prepare your natural hair. A flat surface can perfectly hide your natural hair underneath the wig without damage and create a natural looking. Here we introduce four methods to get your natural hair done.
Four Methods To Prepare Your Natural Hair
Before putting on the wig cap, your natural hairs are required to be prepared as flat as possible. Here are four methods to make your natural hair flat and help you to do a perfect lace front wig installation. Check them to find a suitable one for yourself. By the way, hair neat is very critical in this process. Please ensure your natural hair is clean and has no tangle before starting to prepare your natural hair.
1 Cornrow. It is a common method to prepare your natural under the wig. If you are interested in natural hair protective hairstyles, you may always see there are many protective cornrows braid pattern for wig. Straight back is most wide-used in preparing your hair. Part the hair into 8-10 cornrows straight back and use hair pins to secure them. You can also keep cornrowing and gathering them together, finally hide them back in a little bun. This way can make your hair lay flat underneath the wig. Cornrows are ideal for short and medium lengths, although they can work for long hair too.

2 Braid down for wig. Comb your hair to move knots, then section your hair down the middle into two sections. Divide the hair equally into three parts in the first section and start braiding. When complete braiding, pin it to the opposite side of your head. Do the same with another section.
Notice: The braids should cross over slightly, making an X shape. If the hair is not tight or some hair strands fall, apply more hair pins to fix them to keep them in place.

3 Twist. How to put on a wig cap with long hair? Twisting is an easier way to hide your long natural hair than cornrowing. Firstly, part the hair, and apply hair butter to the sectioned hair, from root to top. Separate this portion of hair into two strands, start to twist from the base of your hair, and go all the way down. After that, twirl the ends of your hair to keep the twist from unraveling. Repeat the same steps with other portions of hair, and you will get a sleek look. If your hair is too long, use hair pins to pin them up on your back head.

4 Low Bun. A low bun is ideal for women who prefer a quick and convenient method to prepare natural hair. Apply gel or mousse on your hair and brush them back into a low bun. Then use hair pins to tidy up the loose strands. Ensure the bun is not so bumpy during the whole process. It can not be uneven after you install the wig.
All The Things You Need When Installing A Lace Front Wig
- Wig Cap
- Your Hermosa Lace Front Wig
- Blow Dryer
- Glue or Gel
- Rat-tail Comb
- Alcohol
- Mini Scissors (or Eyebrow Razor)
How To Install A Wig With Glue
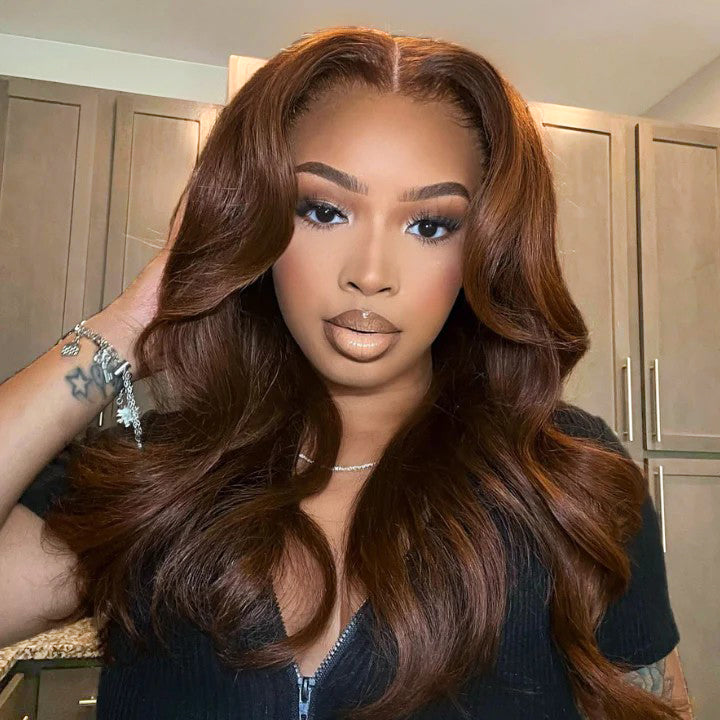
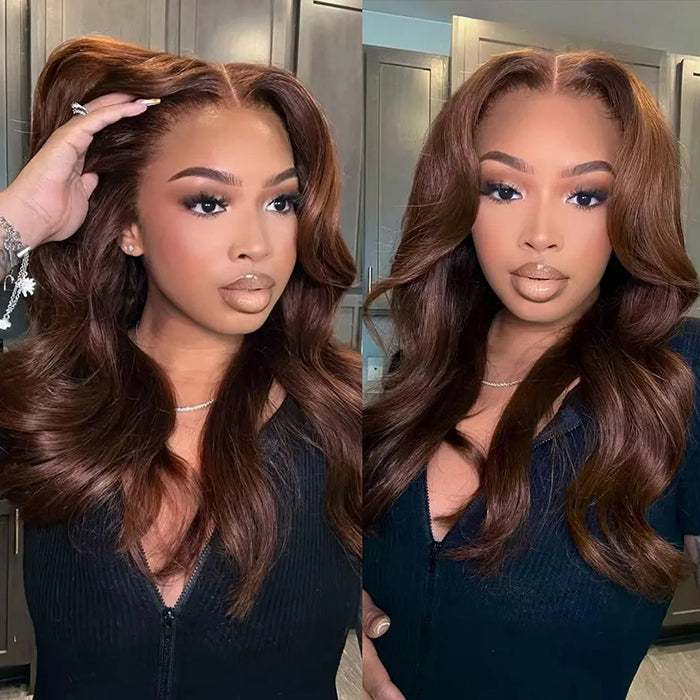
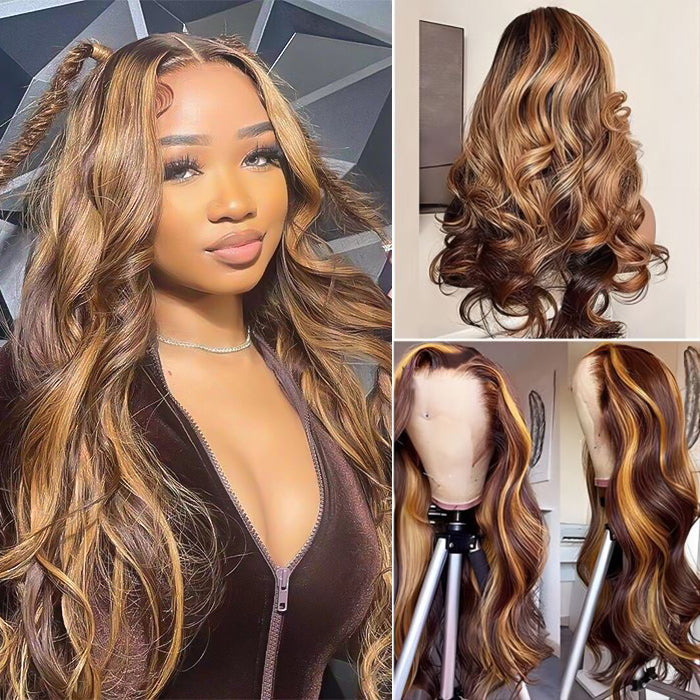
Now, the most important part come, after preparing everything, let's dive into how to wear a wig, you can get some ideas from Caroline A wearing Hermosa Hair #4 Chocolate Brown Color 13x4 kace front Wig.
Step 1: Flat your hair as flat as possible. To help your wig sit naturally and not like a hump on the top of your wig. Here are many different ways to hide your hair under your human hair wig. If you have short hair, you can brush all your hair back with gel or mouse and secure them with hair pins. How to wear wig with long hair? Cornrow and braid work well with your long hair.
Step 2: Put on a wig cap or stocking cap.
- Spray a scalp protector onto your head if you have sensitive skin, then you won't feel itchy after installing the wig.
- Put on a wig cap, the color close to your complexion. Align the wig cap with your natural hairline on the front of your head.
- Adjust the back of the cap to avoid missing some hair.
- Remember to expose your ears if the cap covers your ears.
In addition, there is another way to put on a wig cap popular on YouTube and TikTok now. Bald cap method. Let's dive into how it works.
- Put on your wig cap or stocking cap low to cover all your hair and ears and fall right above your eyebrows.
- Use a mini scissor to cut a small hole right by both ears, and take out your ears.
- Apply glue or Got 2B spray along your hairline.
- Let it air dry, or use a blow dryer on a low setting to speed up the process. You can do one or two layers depending on how long you are ready to wear the wig.
- Cut off the excess cap with a mini scissor, and be careful in this process as this can help you do a seamless bald cap.
Step 3: Apply foundation. If you choose a wig cap that isn’t your skin tone, this step helps tweak the cap to make the part look like your scalp. Taking a foundation color close to your complexion can blend your wig well with your scalp. Use a cosmetic brush to dip some foundation and apply it to your wig cap evenly. Tint the whole wig cap or only tint the front and hairline in terms of how you tend to style the wig. This step also assists you with a real scalp vibe.

Step 4: Clean your forehead. Clean your forehead with alcohol to remove the makeup residues or the glue left. If you are allergic to alcohol, you can also opt for a bottle of water spray to clean your forehead. Clean your forehead is also beneficial for your glue secure well.
Step 5: Apply glue. Apply glue along your hairline, and spread the glue with a rat tail comb. Then let it dry naturally, or use a blow dryer to speed up the process. You can apply two or three layers depending on how long you plan to wear the wig.
Step 6: Apply the wig. After the glue dries, position your wig on your head until the wig is in the correct position and you feel comfortable. Gentle press the wig to melt into the lace after confirming the lace aligns with your hairline.
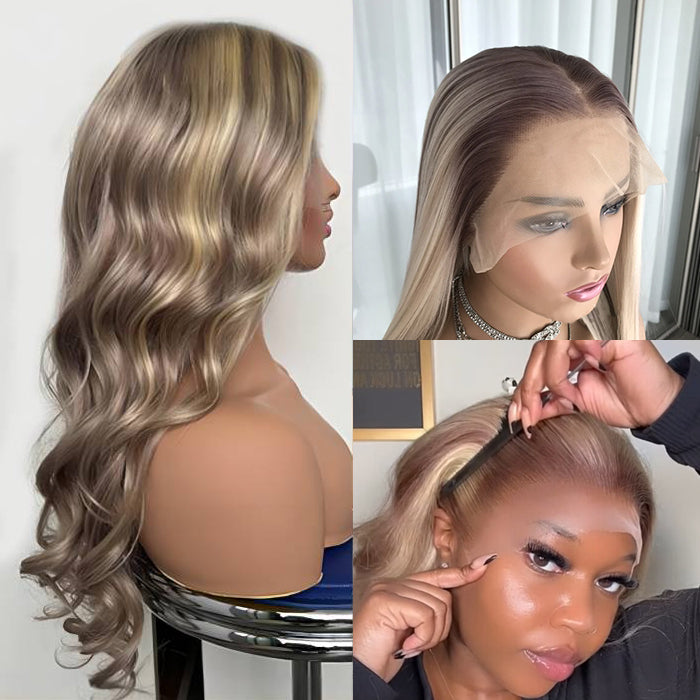
Step 7: Cut off the excess lace. When cutting the lace off the wig, go slowly and move in jagged motions to imitate the natural hairline. Don't cut the lace in a straight line.
Step 8: Lay down the babe hair. (optional) Parting the hair according to the hairstyle you are ready to do. For example, if you intend to install a closure wig, you can do a middle part. Pick out some of the hair around your hairline, and use an eyebrow razor or mini scissor to cut the hair short. Shaping the babe hair with a rat tail comb with gel. There are so many babe hair tutorials you can consult.
Step 9: Styling your wig. You can use a hot comb to flat the hair around the parting line and start styling your wig with a flat iron, or a curling iron. It all depends on what kind of hairstyle you are ready to do. Please remember to apply a heat protectant before you use any heat tools.
Nowadays, more and more people prefer to wear a glueless wig for beginners, cause it is easy to install without glue and convenient to move off. Especially benefits for women who are allergic to glue or adhesive. There are several methods to secure the wig. Let me introduce how to put a wig on without glue.
How To Put On A Lace Front Wig Without Glue
Option 1: Sew on an elastic band on a lace front wig.
Most Hermosa Hair wigs come with an elastic band that you can attach by yourself. Prepare needle and thread for the sewing. First things first, measure your head from ear to ear on the back of your head. Then cut the elastic band based on the length you get. Shorter 2-4 inches is better to get a suitable size to snug your wig. You can also cut the elastic band according to your comfort.

Option 2: Use a wig grip
There are many different wig grips on the market, the most popular materials are velvet and silicone. Both of them are helpful to prevent the wig from sliding.
After putting on the wig cap, apply a wig grip on your head and adjust it to a comfortable place. It sits back a little bit on your hairline. After that, you can continue your wig install. The only difference is that you don't need to apply any glue or adhesive to secure the frontal wig.

It is super convenient to put on and take off and benefits your natural hair growth, avoiding hairline damage from hair glue.
Option 3: Opt for a headband wig, V part wig, or T part wig.
Hermosa Hair provides high-quality headband wigs with different textures, colors, and lengths. Here are some we highly recommend. Headband human hair wigs are ready-to-go wigs and are the most convenient wig, easy to put on and take off.


Glueless V/U Part Wig
Before starting to learn how to install a v-part and u-part wig. Let's figure out the difference between the v-part wig and the u-part wig.
Difference between V part wig and U part wig
1 The shape of opening. Both of them are no lace wigs and make of 100% human hair. The biggest difference is the opening shape-one has a U-shaped opening while the other has a V-shaped opening.
2 Leave out. With a U part wig, you have a big space to do leave out, which allows your natural hair out and blends into your wig, giving you a super natural look. With a v-part wig, there is no place to do leave out, but it can also do a seamless and natural look.
How to install a v/u part wig?
Step1: Get ready with your natural hair. Braid or cornrow your hair to get a flat surface. (If you plan to wear u part wig, remember to keep some hair for leave out)
Step2: Put on your v part or u-part wig and attach it into place with the adjustable straps and clips to get the best fit.
Step3: If you are wearing a u-part wig, cover up the opening of the u-part wig with the section of hair you left out. Do the same style with your wig. For example, if your natural hair is straight and your wig texture is curly, you need to use a curling iron to do the same curl with your wig to help blend.
For v-part wigs, you can skip this step. Styling your wig will be ok, very easy, and convenient installation.
FAQ
How Long Does A Wig Install Last?
1-6 weeks. Some factors may have affected the wig install last.
- Wig quality. Bad quality human hair wigs are fragile and easily get damaged. They can't last as long as good-quality lace wigs.
- Hair adhesive. Different hair adhesives have distinct works on the wig. For instance, waterproof hair glue lasts longer than tape ordinary glues.
- How well is the wig installed? If you are a novice, it is hard to do a perfect installation. In this case, the wig install can not last as long as an experienced person.
- How well do you take care of your wig? As we all know, human hair wigs need to be treated and taken care of like your hair. If you take good care of your wig. Apply adequate moisture and nutrient by using conditioner and hair oil. It lasts longer than a neglected messy wig.
- Your preference. You may be used to keeping the wig stay on for two weeks and giving your natural hair a break or changing a wig style. It is flexible for you to decide when to move off the wig. But please don't wear the wig for over 6 weeks.
How long does it take to install a wig?
The time of installing a wig is unfixed. Depends on the type of wig and the speed and experience of the person installing the wig. For example, installing a lace closure wig spend less time than installing a lace frontal wig. Similarly, it may take 2-4 hours for a newbie to finish the whole installation. However, an experienced black woman may complete the wig installation within one hour, or one hour and thirty minutes.
Conclusion
In short, wig installation is a required course for those who are ready to wear lace wigs, hope you can get some guidance from this article. If you have any doubts about how to install a lace front wig or want to share your wig install experience, welcome to email us or comment below to communicate.













Leave a comment